Introduction to Snowball Cake Recipe
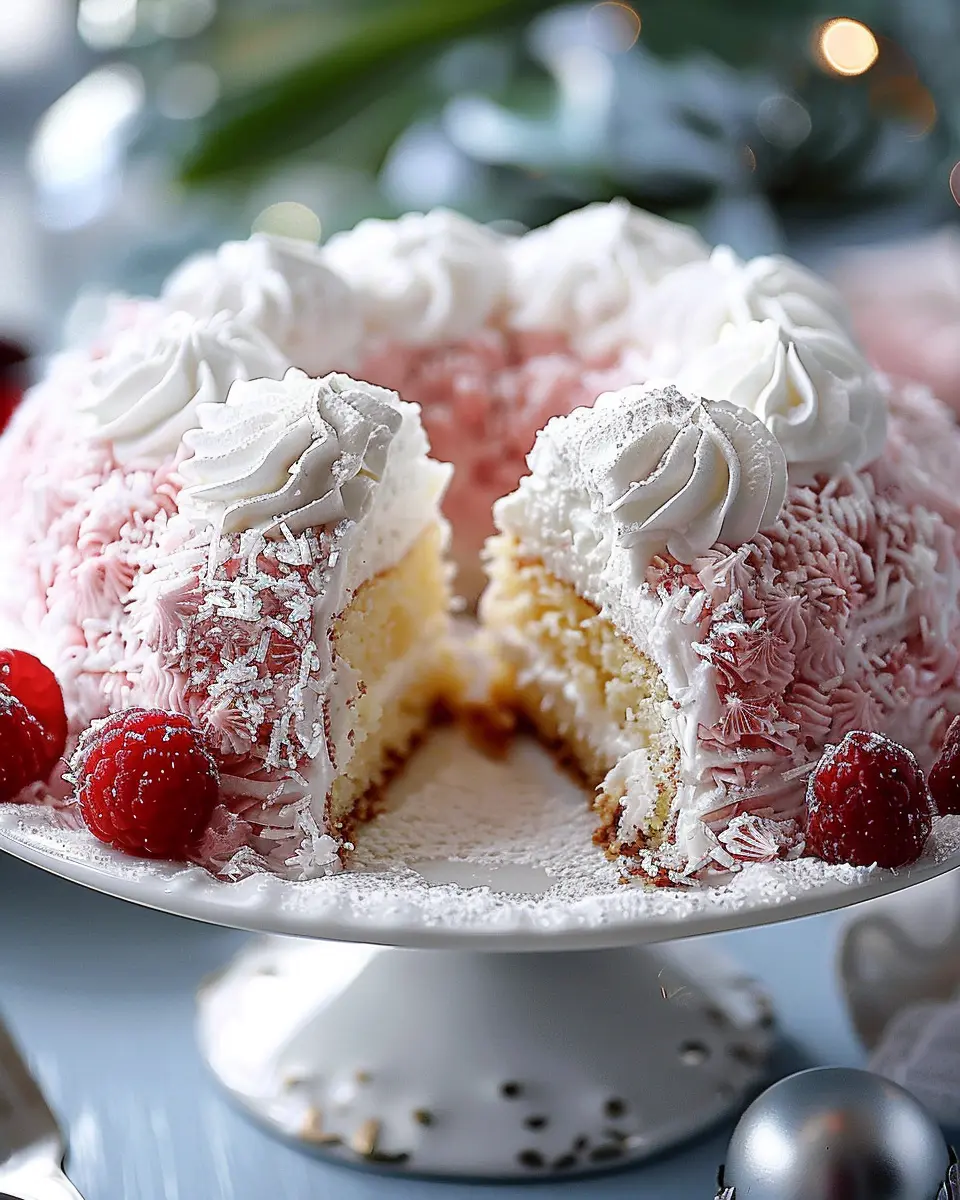
When it comes to dessert, few options are as delightful as a snowball cake. Its fluffy layers and creamy filling create a harmonious blend that’s perfect for any occasion, whether it’s a casual gathering or a special celebration. The snowball cake recipe stands out not just for its flavor but also for its whimsical presentation — like an edible snowball waiting to be enjoyed!
What makes snowball cake a must-try dessert?
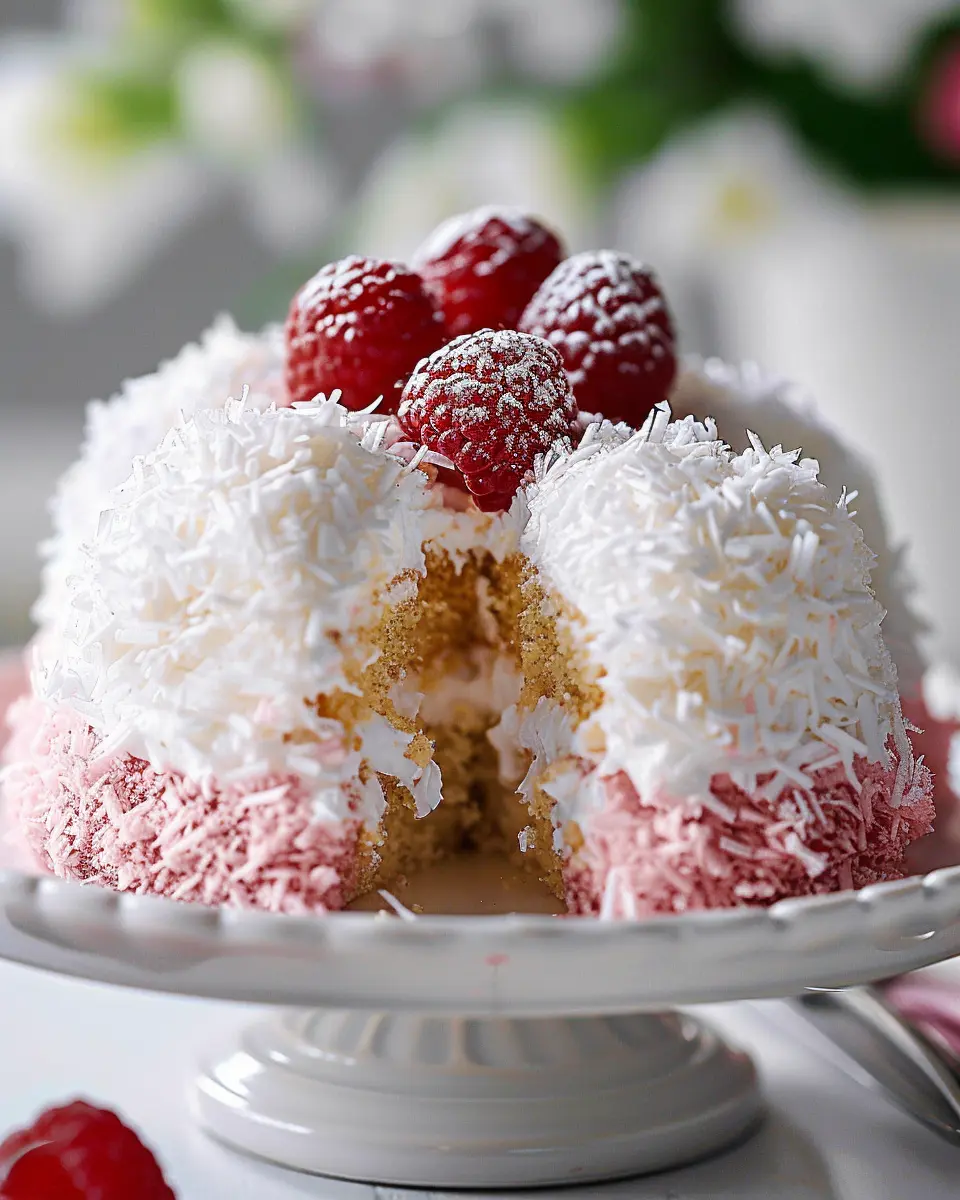
So, what elevates a snowball cake to the must-try category? For starters, its unique texture. Imagine biting into a cake that’s both soft and rich, with each slice revealing layers of delectable frosting. According to the experts at Taste of Home, the secret lies in the balance of moisture and sweetness. The combination of sponge cake with whipped frosting creates a dessert that feels indulgent without being overwhelming.
Another appealing aspect of the snowball cake is its versatility. You can customize the flavors to suit your palate—whether you prefer classic vanilla or a richer chocolate, this cake can accommodate your taste buds. Plus, it’s a fantastic way to impress your friends! Just picture the surprised faces when they see a cake that looks like a snowball but tastes like heaven.
Additionally, preparing a snowball cake can be a rewarding experience. It’s a fun project to take on in the kitchen, and it’s an opportunity to showcase your baking skills. As you layer and frost, you might even find yourself lost in the joy of creating something beautiful. Have you ever noticed how baking can be a therapeutic activity? The process of measuring, mixing, and decorating can be incredibly fulfilling.
With the right snowball cake recipe, you can make a dessert that is not just a feast for the senses but a delightful centerpiece for any table. Whether you’re hosting friends or simply satisfying your own sweet tooth, this cake is a culinary adventure worth taking. Don’t miss out on making this winter wonderland treat — it’s an experience that resonates long after the last bite!
For a detailed guide on various cake preparations, check out King Arthur Baking for expert tips and tricks.
Ingredients for Snowball Cake
Essential Ingredients for the Cake
When crafting your mouthwatering snowball cake, choosing the right ingredients is crucial for its fluffy texture and delightful flavor. Here’s what you’ll need:
- 2 cups all-purpose flour: This forms the base of your cake.
- 1 ½ cups granulated sugar: For sweetness that’ll balance the tartness of the raspberry.
- ½ cup unsalted butter: Adds richness and moisture.
- 1 cup milk: Helps to create a tender crumb.
- 3 eggs: Eggs contribute to the structure and stability.
- 2 teaspoons baking powder: The leavening agent that makes your cake rise.
- 1 teaspoon vanilla extract: Enhances the overall flavor.
Ingredients for the Raspberry Swirl
The raspberry swirl elevates the snowball cake with its refreshing burst of fruitiness. You’ll need:
- 1 cup fresh or frozen raspberries: Packed with flavor!
- ½ cup granulated sugar: To sweeten those tangy berries.
- 1 tablespoon lemon juice: Brightens the raspberry flavor.
Coating with Coconut
To give your cake its signature look and taste, you’ll also need:
- 3 cups shredded coconut: Look for unsweetened for a less sugary finish.
- 1 cup cream cheese frosting: For sticking the coconut to the cake.
Curious about making the perfect cream cheese frosting? Check out this frosting guide. This sumptuous snowball cake recipe is all about layering flavors and textures, ensuring every bite is a delightful experience!
Preparing Snowball Cake
Making a delightful snowball cake can be a fun and rewarding experience, especially when you prepare it step-by-step. The process may look intimidating at first, but trust me, once you get into it, you’ll be amazed at how simple it is! Let’s dive in and get this sweet journey started.
Gather and measure your ingredients
First things first, let’s gather all your ingredients. This not only keeps your kitchen organized but also makes the process smoother. For your snowball cake recipe, you’ll need:
- 2 cups all-purpose flour
- 1 ½ teaspoons baking powder
- ½ teaspoon baking soda
- ¼ teaspoon salt
- 1 cup unsalted butter, softened
- 2 cups granulated sugar
- 4 large eggs
- 1 teaspoon vanilla extract
- 1 cup buttermilk (or a substitute if needed)
- Optional: shredded coconut for decoration
Make sure to measure everything accurately, as precision can be the difference between a success and a flop. For tips on measuring ingredients correctly, check out this resource on baking basics.
Preheat the oven and prepare the pan
Now that you have all your ingredients ready, it’s time to create the perfect environment for your cake to thrive. Preheat your oven to 350°F (175°C).
While that is heating up, prepare your cake pans by greasing them well with butter or non-stick spray. You can also line the bottoms of the pans with parchment paper for added safety—no one wants to risk a cake sticking!
Mix the dry ingredients
In a medium bowl, start mixing the dry ingredients. Combine the all-purpose flour, baking powder, baking soda, and salt. Whisk them together until they are well incorporated. This step is important because it evenly distributes the leavening agents, which helps your cake rise perfectly.
Cream the butter and sugar
Once your dry ingredients are ready, it’s time to cremate the butter and sugar! In a large mixing bowl, beat the softened butter and granulated sugar together until the mixture is fluffy and light in color. This can take about 3-5 minutes with an electric mixer.
This step is crucial for incorporating air into your batter, which will give your cake that lovely, airy texture. Have you ever noticed how cakes turn out differently based on the creaming technique? It’s a subtle yet important part of baking!
Combine the wet and dry ingredients
Next, let’s combine our wet ingredients—the eggs and vanilla extract—with the butter-sugar mixture. Beat them into the mix until smooth.
Then, slowly alternate adding the dry ingredients and buttermilk to the bowl. Start with one-third of the dry ingredients, followed by half of the buttermilk, and continue to alternate until everything is combined. Don’t overmix here; just combine until you no longer see dry flour!
Assemble the cake layers
Now comes the fun part. Divide your cake batter evenly among the prepared pans. Use a spatula to smooth the tops, ensuring your cakes come out even. This way, you won’t have to trim the tops later!
Bake the snowball cake
Finally, place your cake pans in the preheated oven. Bake for 25-30 minutes, or until a toothpick inserted into the center comes out clean. Keep an eye on them, as oven temperatures can vary.
Once baked, allow the cakes to cool in their pans for about 10 minutes before turning them out onto wire racks. This cooling period is essential to avoid soggy bottoms! After they’ve completely cooled, you’re ready for the delicious frosting and decorating.
Time to Create a Sweet Masterpiece!
And there you have it, a simple yet engaging way to prepare your snowball cake! Each step leads you closer to a delicious dessert that’s sure to impress your friends and family. For tips on the best frosting ideas, make sure to check out this article on frosting techniques.
Baking can be not just a task, but an enjoyable and creative outlet. So put on your favorite playlist, grab your ingredients, and let’s bake something magical!
Variations on Snowball Cake
Tropical Twist with Lime or Pineapple Preserves
Looking to infuse a little sunshine into your snowball cake recipe? Consider using lime or pineapple preserves for a tropical twist! The tangy citrus flavors of lime add a refreshing zing, while pineapple brings a sweet and tropical richness that perfectly complements the light and fluffy cake. Simply swap out the standard frosting for a lime or pineapple glaze by mixing powdered sugar with lime juice or pineapple juice. This small change can transform your snowball cake into a delightful summer treat, making it ideal for warmer weather or special occasions. If you want to explore more tropical ideas, check out this fruit preserve guide for inspiration!
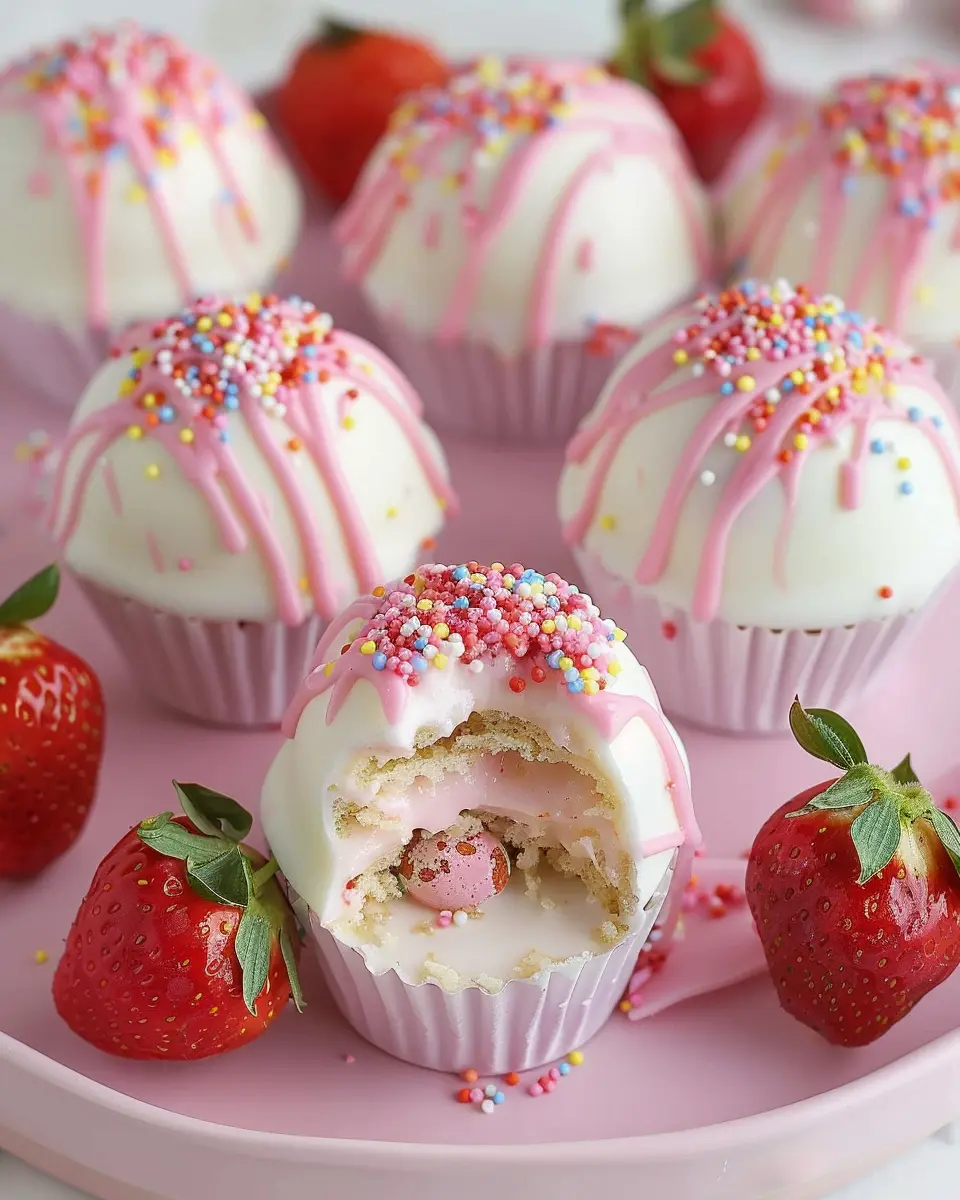
Mini Snowball Cupcakes
If you’re short on time or looking for single-serving treats, why not try making mini snowball cupcakes? These bite-sized versions of the classic snowball cake maintain all the fluffy goodness of the original but are perfect for parties or casual get-togethers. Use a standard cupcake recipe, but after baking, let them cool and then dip each mini cupcake into a light frosting before rolling them in shredded coconut. You can even top them with sprinkles for a fun finish! Plus, serving these cute little cakes can spark great conversations as everyone loves a personalized dessert.
With these variations, your snowball cake will never grow stale. Whether you’re going tropical or opting for mini versions, these ideas are sure to impress your friends and family. Happy baking!
Baking tips for Snowball Cake
Creating a delightful snowball cake can be a rewarding experience, especially when you keep a few baking tips in mind. Let’s make sure your cake turns out perfectly every time!
Common mistakes to avoid
- Overmixing the batter: It may be tempting to mix until smooth, but overmixing can lead to a dense cake. Aim for just combined ingredients.
- Skipping the room temperature ingredients: Cold eggs or butter can prevent your batter from blending properly. Take a few minutes to let them warm up!
- Not using parchment paper: This crucial step ensures easy release and helps maintain the shape of your snowball cake.
For more in-depth baking insights, consider visiting seasoned bakers’ blogs or resources like King Arthur Baking.
Tips for perfect swirling
- Use two contrasting colors: This creates a beautiful visual effect. Simply pour batters into the pan and use a knife to gently swirl them.
- Don’t over-swirl: You want distinct layers, so a few gentle movements to mix should suffice.
- Experiment with flavors: Adding a hint of lemon zest or almond extract can elevate your snowball cake recipe to new heights!
Incorporating these tips into your baking routine will surely yield fantastic results every time. Happy baking!
Serving suggestions for Snowball Cake
Pairing options with beverages
When it comes to elevating your snowball cake recipe, the right beverage can make all the difference. Consider serving it with:
-
Coffee or Tea: A warm cup of coffee or herbal tea complements the sweetness of the cake beautifully. The rich flavors can help balance the frosty sweetness of the snowball.
-
Fruit Juices: Freshly squeezed orange juice or a vibrant berry blend adds a refreshing touch. These natural flavors pair excellently with the cake’s creamy texture.
-
Sparkling Water: If you prefer something lighter, sparkling water with a hint of lemon or mint can cleanse the palate and enhance the cake’s delightful sweetness.
Presentation ideas for gatherings
Impress your guests by presenting your snowball cake in creative ways:
-
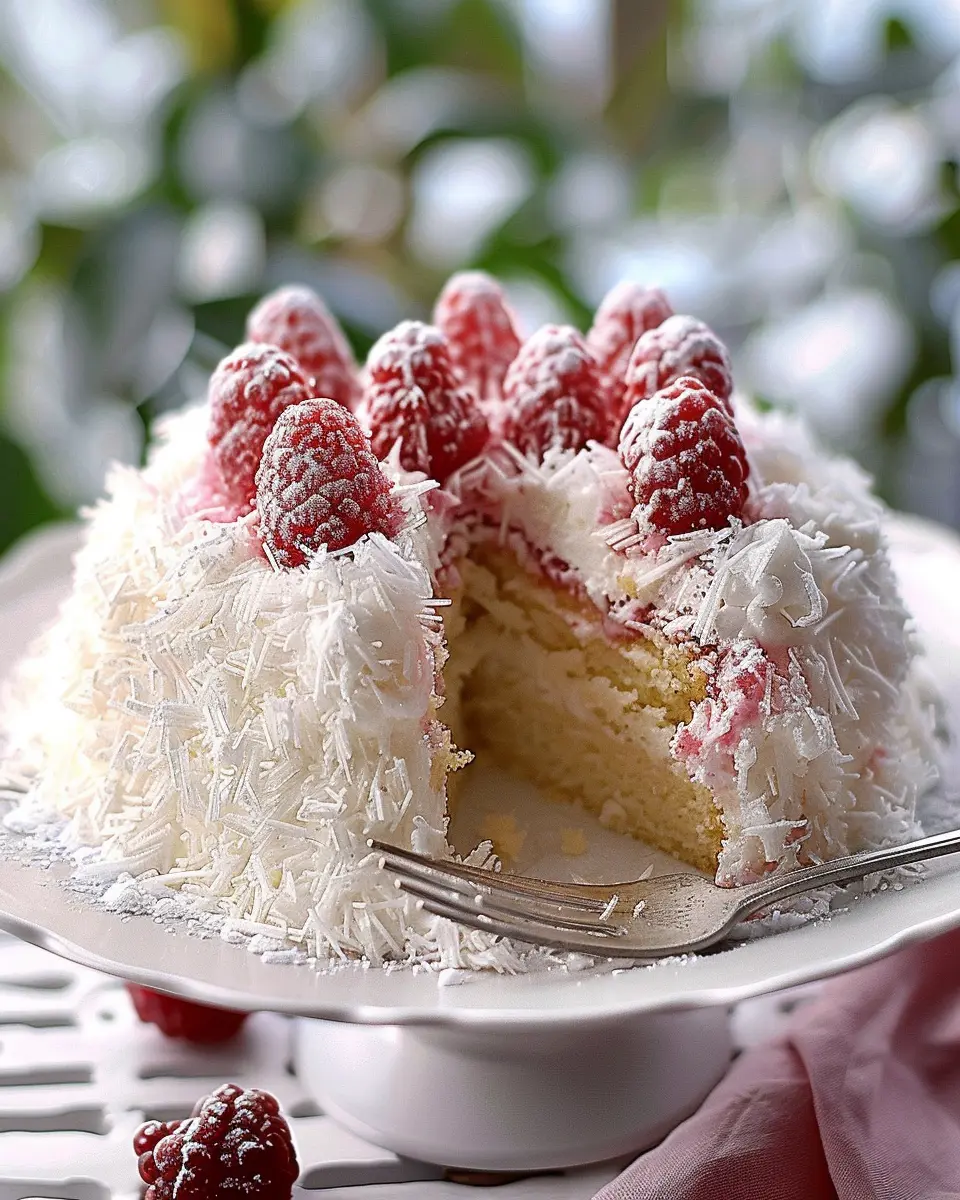
Layered Display: Use a clear cake stand to showcase the layers of your snowball cake. The visual appeal will have everyone reaching for a slice.
-
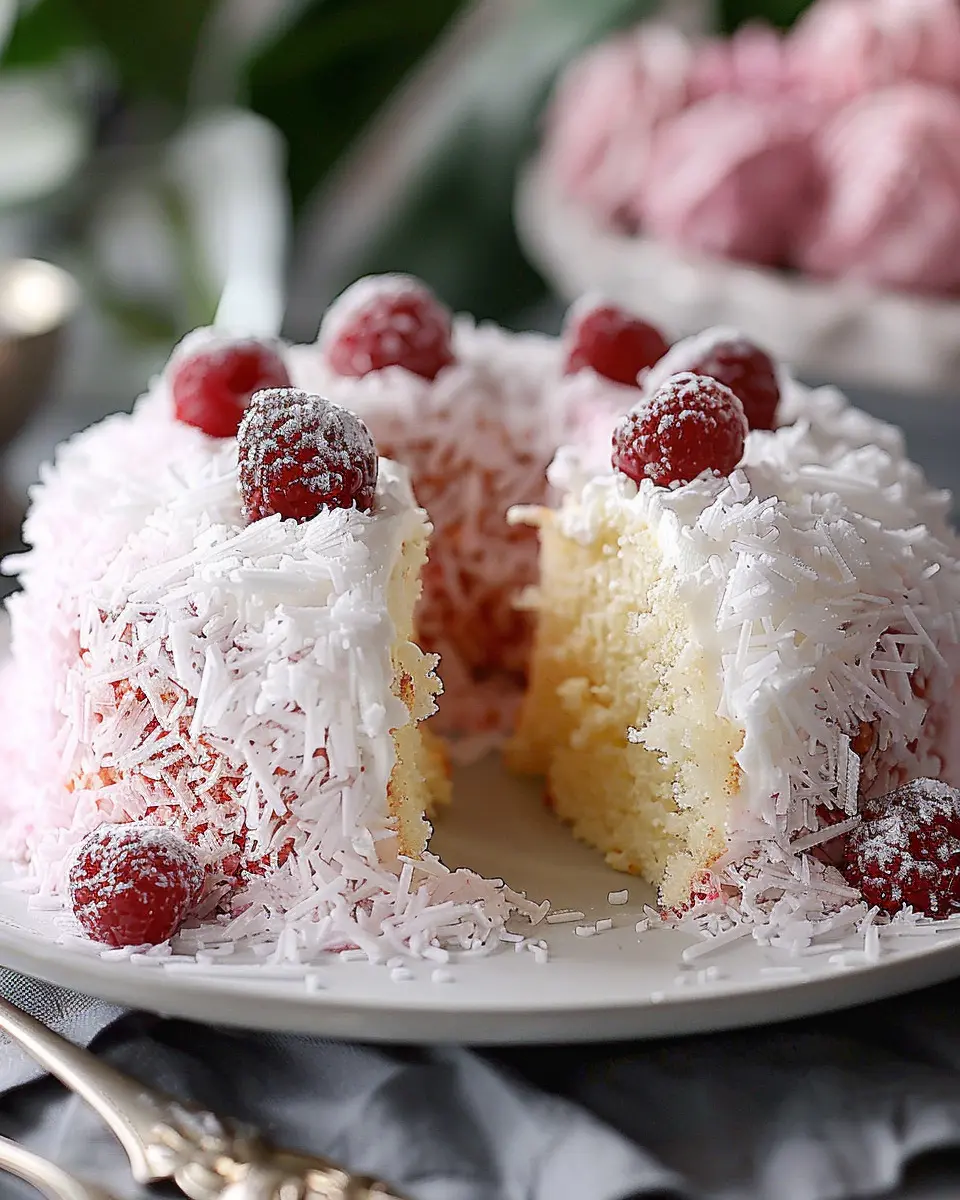
Garnish with Fresh Fruits: Add a sprinkle of seasonal fruits like raspberries or blueberries around the base. Not only do they add color, but they also offer a tart contrast to the cake’s sweetness.
-
Serving Platters: Swap out traditional cake plates for rustic wooden boards or elegant marble platters to give your gathering a chic vibe. Pairing these with some beautiful napkins can elevate the overall presentation.
Remember, how you serve can be just as impactful as what you serve! To dive deeper into cake presentation ideas, check out this guide on cake styling.
Time details for Snowball Cake
Preparation time
Getting started on your snowball cake recipe is a breeze! You’ll want to set aside about 20-25 minutes for preparation. This includes everything from gathering your ingredients to whipping up the batter. It’s the perfect time to put on a favorite playlist and get into the baking groove.
Baking time
Once your cake is ready for the oven, it will need about 30-35 minutes of baking. It’s always a good idea to check on it a few minutes before the timer goes off. The tantalizing aroma will let you know something delicious is happening!
Total time
In total, you’re looking at around 50-60 minutes from start to finish, not counting any cooling time. Isn’t that fantastic for such a show-stopping dessert? With just a little effort, you can create a cake that’s sure to impress friends and family. For more tips on perfecting your baking, check out this guide on techniques for successful baking. Happy baking!
Nutritional information for Snowball Cake
When indulging in a delightful snowball cake recipe, understanding its nutritional profile adds a layer of enjoyment to your baking. Let’s dive into the details!
Calories
A slice of snowball cake generally contains around 300 calories. This can vary based on portion size and specific ingredients used, so keep that in mind if you’re counting.
Sugar content
Typically, you can expect about 25 grams of sugar per serving. That sweetness definitely contributes to its irresistible charm, but moderation is key!
Dietary considerations
For those with dietary restrictions, note that snowball cake is often made with gluten-containing flour. However, you can easily swap in a gluten-free flour blend. Additionally, using low-sugar alternatives can lighten the cake without sacrificing taste.
Curious to experiment? Check out these gluten-free baking tips and transform your favorite recipes! Your taste buds will thank you.
FAQs about Snowball Cake
Can I make snowball cake ahead of time?
Absolutely! Making your snowball cake ahead of time is a great way to save some stress on the day you’re serving it. You can bake the cake layers and store them in an airtight container in the fridge for up to two days. Just remember to frost and assemble it on the day of serving for the best flavor and presentation. If you’re looking for a delicious cake to impress at a gathering, this is a surefire way to do it!
How should I store leftover snowball cake?
If you happen to have leftovers (which can be a rare occurrence!), storing your snowball cake properly can keep it fresh for days. Place any uneaten cake in an airtight container or cover it tightly with plastic wrap. It can stay in the refrigerator for about five days. For longer storage, you can freeze it! Just slice the cake into portions, wrap them in plastic wrap, and place them in a freezer-safe container. When you’re ready to enjoy it again, simply thaw it in the fridge overnight.
Can I substitute different fruits?
Yes, you can definitely get creative with your fruit choices in this snowball cake recipe. While traditional recipes often use coconut or certain berries, feel free to swap in your favorites! Here are some delicious options to consider:
- Pineapple: For a tropical twist, substitute fresh pineapple chunks.
- Mango: Sweet mango adds a lovely flavor contrast.
- Strawberries: Sliced strawberries can bring that festive touch to your cake.
Whether you want to experiment with flavors or showcase seasonal fruits, your snowball cake will shine with any choice you make. For more inspiration, check out this helpful guide on selecting fruits for desserts.
Remember, the key to a stunning cake is all in the flavors you choose, so let your creativity run wild!
Conclusion on Snowball Cake Recipe
Why you should bake this dessert today!
If you’re looking for a showstopper dessert that’s both visually stunning and supremely delicious, the snowball cake recipe is a must-try! This fluffy, light cake, enveloped in creamy frosting and coated with coconut, offers a taste of nostalgia that’s perfect for family gatherings or special occasions. Think about how your friends and loved ones will delight in each bite!
Baking this cake isn’t just about following a recipe—it’s about creating memories. And don’t worry if you’re new to baking; the step-by-step guide is simple to follow. So, gather your ingredients, put on your apron, and get ready to impress everyone at your next gathering! Check out more incredible dessert ideas on Tasty or Bon Appétit for more inspiration.
PrintSnowball Cake Recipe: The Best Indulgent Treat for Any Occasion
This Snowball Cake is the perfect indulgent treat for any occasion, with its fluffy texture and delightful sweetness.
- Prep Time: 20 minutes
- Cook Time: 30 minutes
- Total Time: 50 minutes
- Yield: 12 servings 1x
- Category: Dessert
- Method: Baking
- Cuisine: American
- Diet: Vegetarian
Ingredients
- 2 cups cake flour
- 1 cup granulated sugar
- 1 cup unsalted butter, softened
- 4 large eggs
- 1 cup milk
- 1 tablespoon vanilla extract
- 1 teaspoon baking powder
- 1/2 teaspoon salt
- 2 cups shredded coconut
Instructions
- Preheat your oven to 350°F (175°C) and grease two 9-inch round cake pans.
- In a bowl, combine the flour, baking powder, and salt.
- In a large bowl, cream the butter and sugar until light and fluffy.
- Add eggs one at a time, mixing well after each addition.
- Gradually add the flour mixture and milk, alternating between them, and stir in the vanilla.
- Pour the batter into the prepared pans and bake for 25-30 minutes.
- Once baked, let the cakes cool for 10 minutes before removing from pans.
- Frost with your favorite icing and generously sprinkle with shredded coconut.
Notes
- For added flavor, consider using coconut milk instead of regular milk.
- Store the cake in an airtight container to maintain freshness.
Nutrition
- Serving Size: 1 slice
- Calories: 350
- Sugar: 25g
- Sodium: 200mg
- Fat: 15g
- Saturated Fat: 9g
- Unsaturated Fat: 4g
- Trans Fat: 0g
- Carbohydrates: 48g
- Fiber: 1g
- Protein: 4g
- Cholesterol: 80mg
Keywords: Snowball Cake, cake recipe, dessert recipe