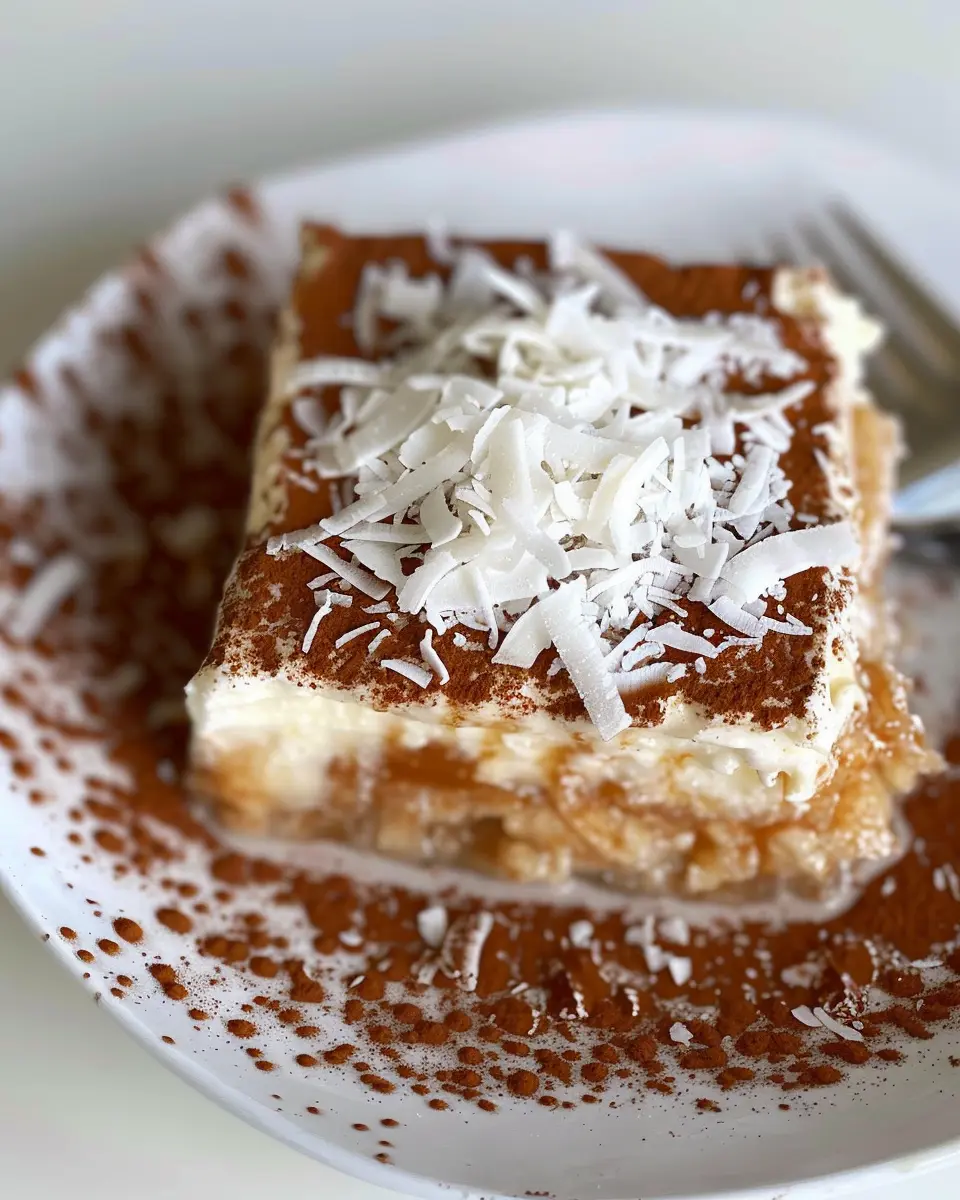
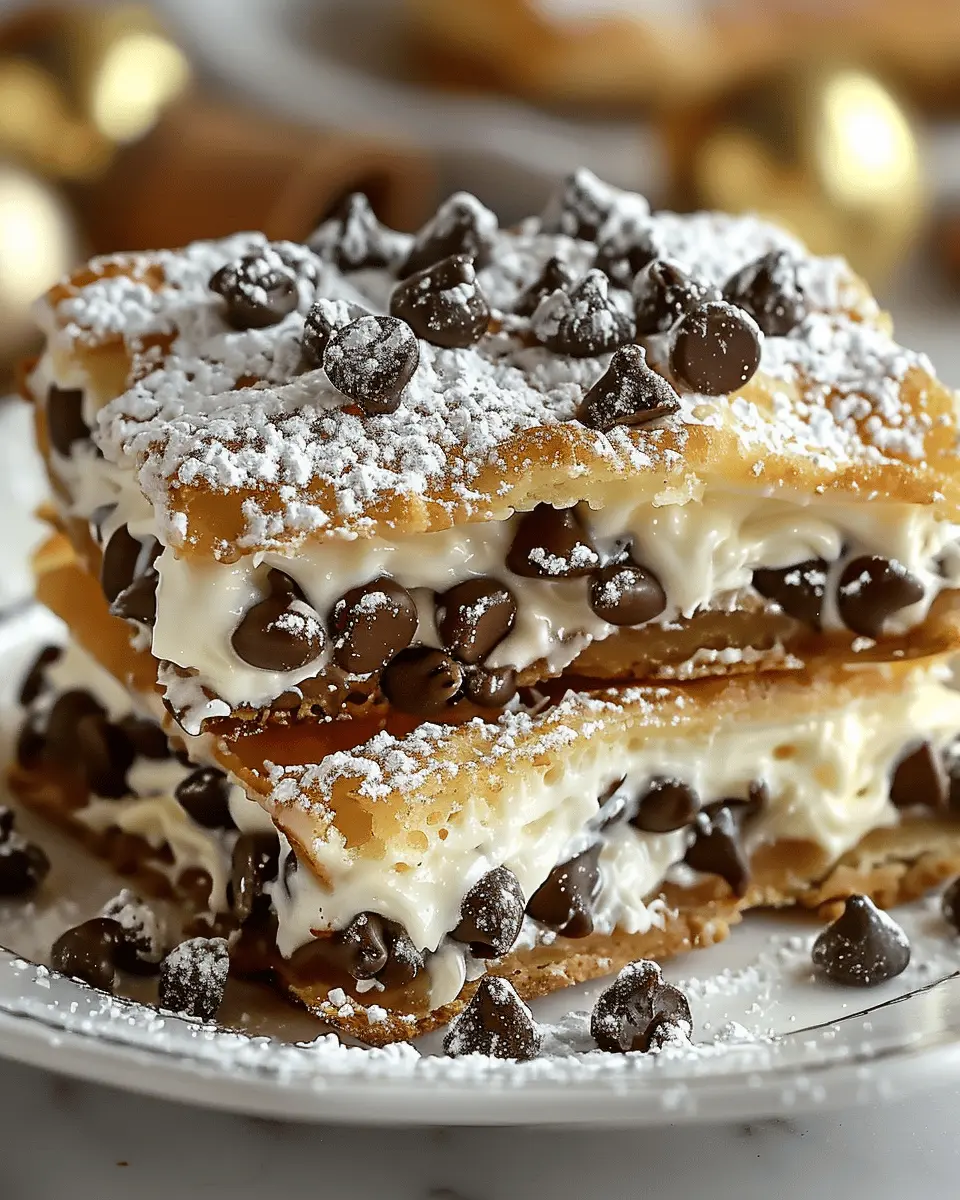
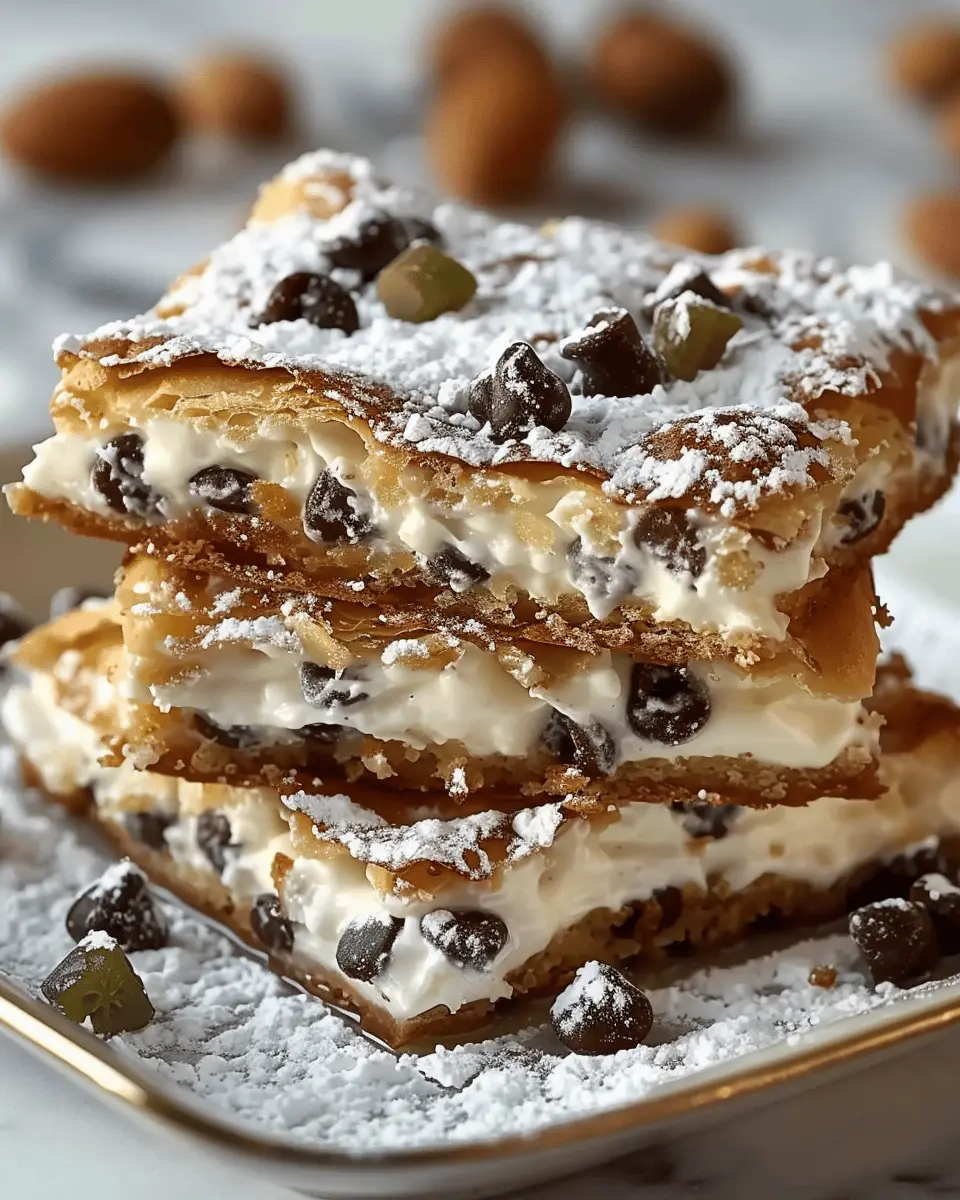
Introduction to Classic Cannoli Squares
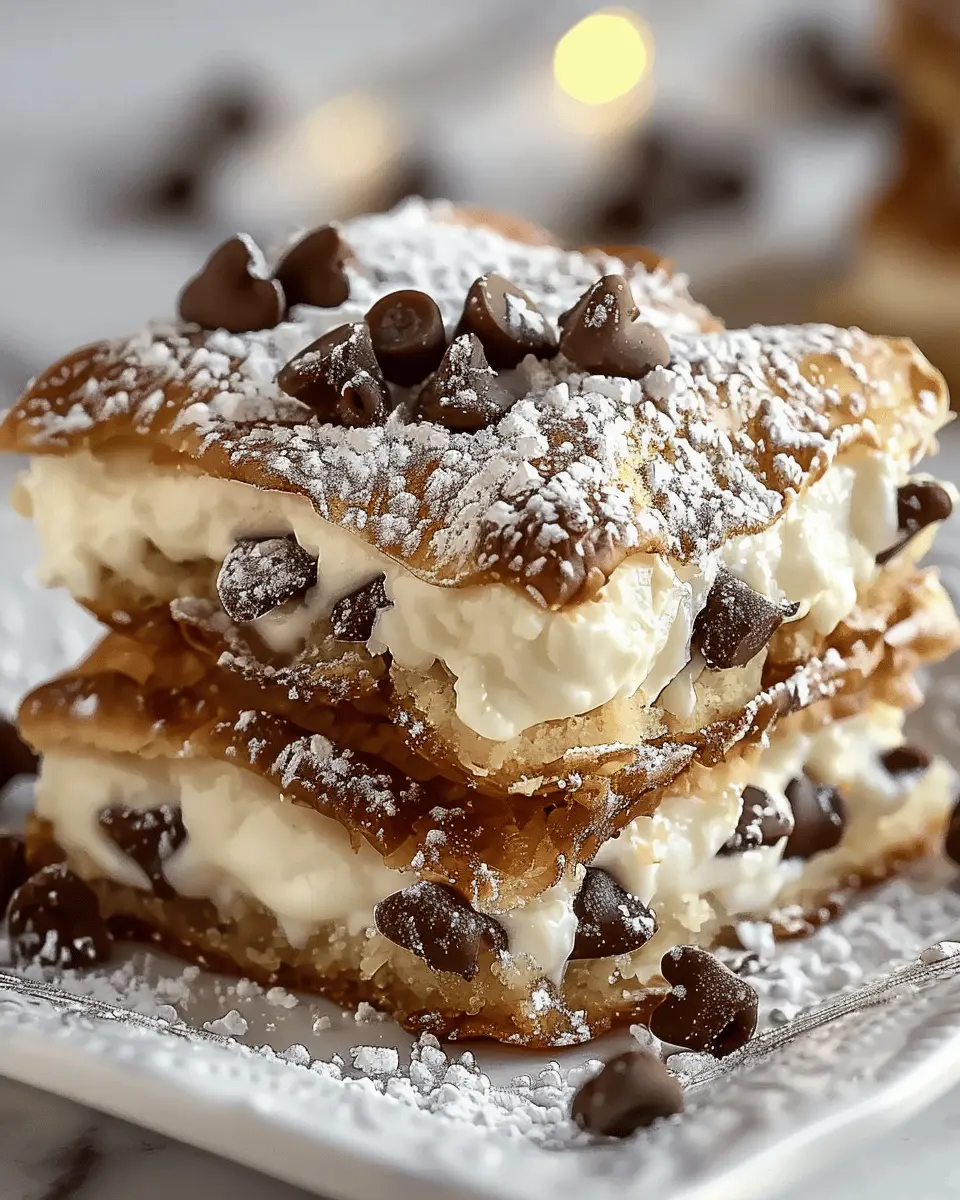
When it comes to dessert, few things can compare to the magic of cannoli. Originating from Sicily, these delightful pastries are filled with sweet, creamy ricotta and often adorned with chocolate chips or candied fruit. But let’s be honest, traditional cannoli can be a bit tricky to pull off. That’s where Classic Cannoli Squares come into play! They offer the same indulgent flavor without the fuss.
Why are Classic Cannoli Squares the perfect dessert for young professionals?
In our fast-paced lives, whipping up an impressive dessert can feel like climbing a mountain. Classic Cannoli Squares simplify that, marrying convenience with deliciousness in every bite. Here are a few reasons why this dessert is particularly suited for young professionals:
-
Effortless Preparation: Unlike traditional cannoli, which requires a bit of pastry-making prowess, these squares are straightforward. With just a few ingredients and a little time, you’ll have a stunning dessert ready to wow your friends or impress that special someone.
-
Make Ahead Delight: Busy weeknights don’t have to mean dessert deprivation! You can prepare these Cannoli Squares in advance and store them in the refrigerator. This means you’ll always have a delightful sweet treat at your fingertips for those last-minute get-togethers or Netflix binge sessions.
-
Flavor Without the Fuss: Classic Cannoli Squares pack all the mouthwatering flavors of the pastry while being served in an easy-to-share form. Imagine diving into a soft, creamy square, filled with the delightful ricotta mixture and topped with a light dusting of powdered sugar. It’s like having your cake and eating it too, minus the mess!
-
Impress Your Peers: With more people seeking unique desserts for gatherings, serving Classic Cannoli Squares can make you the star of your culinary circle. They are sure to earn you rave reviews—who doesn’t want to be the person known for bringing the most delicious treats to potlucks?
Not only are Classic Cannoli Squares easy to prepare, but they also create an experience that connects you with the rich Italian culinary tradition. If you’re ready to make something that simultaneously satisfies your sweet tooth and impresses others, then stick around!

Ingredients for Classic Cannoli Squares
What you’ll need for the filling
Creating that delightful, creamy filling is the heart of your classic cannoli squares. Here’s what you’ll need:
- 15 oz ricotta cheese – For that rich, creamy base.
- 4 oz mascarpone cheese – To add extra smoothness.
- 3/4 cup powdered sugar – Sweetness that balances perfectly with the cheese.
- 1 tsp vanilla extract – A splash of flavor.
- 1/2 cup mini chocolate chips – Because who can resist that chocolatey goodness?
What you’ll need for the crust
The crust is just as important as the filling, providing that perfect base. Gather these ingredients:
- 1 1/2 cups all-purpose flour – The main building block.
- 1/2 cup unsalted butter – Adds richness to the crust.
- 1/4 cup granulated sugar – A touch of sweetness.
- 1/4 tsp salt – Enhances all the flavors.
- 1 egg – For binding everything together.
Optional garnishes for that extra flair
Want to elevate your classic cannoli squares? Consider these garnishes:
- Chopped pistachios – For a pop of color and crunch.
- Additional chocolate chips – Just in case you need more.
- Maraschino cherries – For a bright finish.
These ingredients will have your taste buds dancing! Ensure you get your high-quality cheese from trusted suppliers like Galbani and invest in fresh ingredients for the best results. Enjoy your baking adventure!
Preparing Classic Cannoli Squares
Making Classic Cannoli Squares is not just about following a recipe; it’s an experience that fills your kitchen with delightful aromas and brings a smile to your face. Whether you’re preparing for a special occasion or just want to indulge yourself, these squares combine the traditional flavors of cannoli into a fun and easy format. Let’s walk through each step to ensure yours come out absolutely scrumptious.
Gather All Your Ingredients
Before diving in, it’s essential to have everything at your fingertips. Here’s what you’ll need:
-
For the Ricotta Filling:
-
2 cups whole-milk ricotta cheese
-
1 cup powdered sugar
-
1 teaspoon vanilla extract
-
1/2 cup mini chocolate chips
-
Zest of 1 orange (optional)
-
For the Pie Crust:
-
1 package of store-bought puff pastry or homemade pie crust (about 9 inches)
-
Non-stick cooking spray or butter for greasing
Having all your ingredients prepared not only makes the process smoother but also allows you to get creative! Want to add a pinch of cinnamon? Go for it! This is your moment.
Make the Creamy Ricotta Filling
The heart of your Classic Cannoli Squares lies in the filling. Start by draining your ricotta cheese to avoid a watery filling. To do this, place the ricotta in a cheesecloth or a fine mesh strainer for about 30 minutes.
Once drained, in a mixing bowl, combine the ricotta with powdered sugar and vanilla extract. Use an electric mixer or a sturdy spatula to blend until it’s luscious and creamy. At this point, fold in the mini chocolate chips and orange zest (if you’re using it). This harmonious blend creates a rich filling that balances sweetness with a hint of citrus—absolute perfection!
Prepare the Pie Crust in Your Baking Dish
Now that you have your filling ready, it’s time to focus on the crust. Preheat your oven to 375°F (190°C). If using puff pastry, roll it out on a lightly floured surface to fit your baking dish. You want it to have a nice, thin layer that crisps up beautifully in the oven.
Grease your baking dish with non-stick spray or butter to prevent any sticking. Then, carefully lay your crust in the dish, pressing it along the edges. If using a homemade crust, roll it out to about 1/8 inch thick, and remember to dock (poke holes in) the base to prevent bubbling.
Assemble Layers of Deliciousness
Now comes the fun part: assembling your Classic Cannoli Squares. Pour half of your ricotta filling over the crust and spread it evenly. Follow this by placing the second layer of crust on top. Pour the remaining filling and smooth it out.
If you have extra chocolate chips, feel free to sprinkle them on top for bursts of chocolatey goodness. Finish with a final layer of crust, sealing tight at the edges, to create a beautiful layered effect.
Bake to Golden Perfection
Slide your creation into the oven and bake for approximately 30-35 minutes or until golden brown. The smell wafting through your kitchen will be irresistible, making it hard to wait!
Keep an eye on the squares after the 25-minute mark. You want them golden, not burnt.
Cooling and Cutting the Squares
Once baked, it’s crucial to let your Classic Cannoli Squares cool completely in the baking dish. This cooling period allows the filling to set, which makes cutting easier.
After about an hour, you can cut the squares into desired portions. A sharp knife will yield cleaner cuts, showcasing those beautiful layers.
To top it off, dust each square with powdered sugar before serving—it’s like the icing on the cake!
And there you have it—a delightful journey from ingredients to Classic Cannoli Squares that will wow your taste buds and impress your friends. Ready to dive in? Grab your family or friends and enjoy these delicious treats together!
For more tips on baking and ingredient substitutions, check out the resources from the American Culinary Federation that can help take your skills to the next level!
Variations on Classic Cannoli Squares
If you’re looking to take your classic cannoli squares to the next level, experimenting with flavors can be a delicious adventure! Here are some tempting variations that will impress your friends and family.
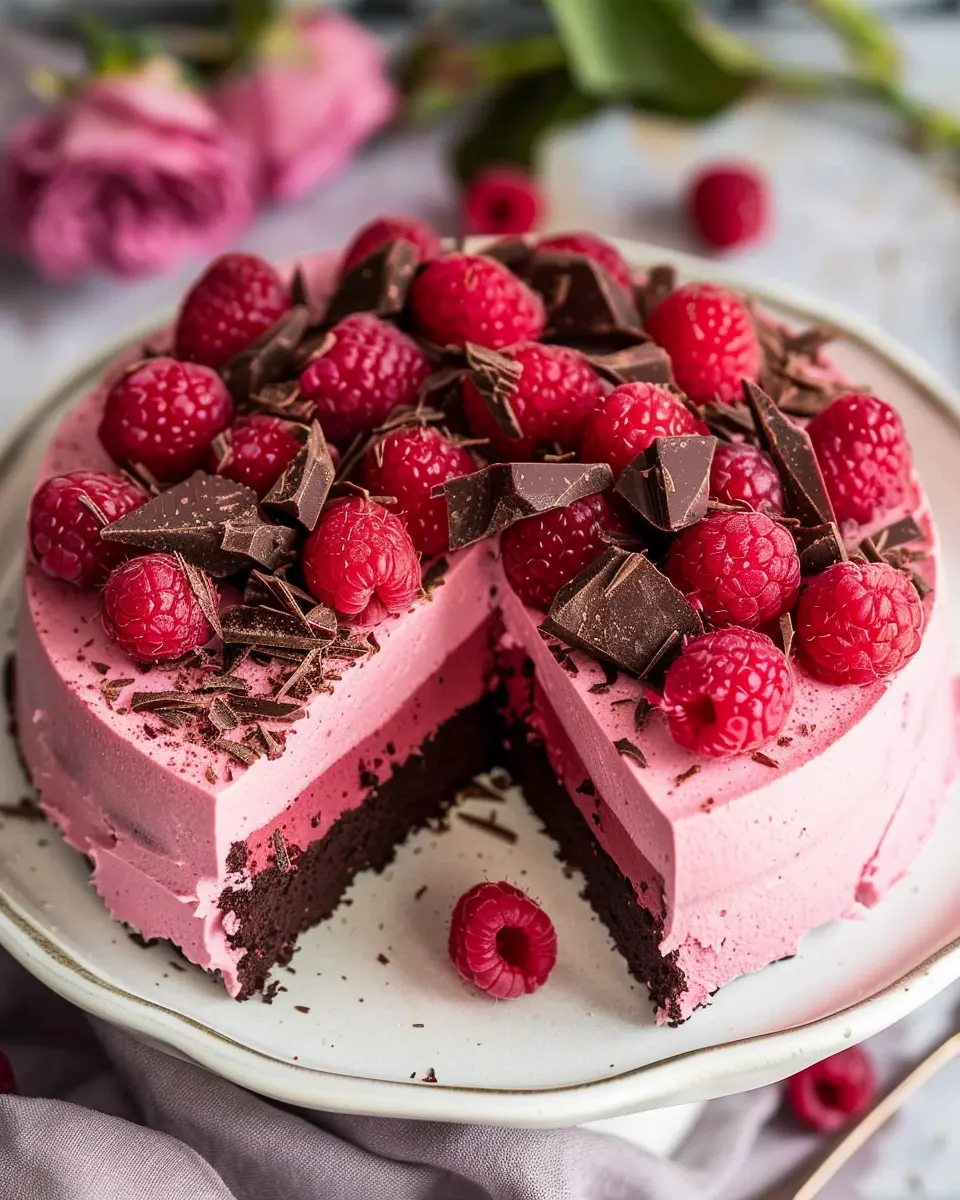
Chocolate Chip Cannoli Squares
For all the chocolate lovers out there, adding mini chocolate chips to your classic cannoli squares brings an indulgent twist. Simply fold in about half a cup of chocolate chips into your ricotta filling. You can also drizzle some melted chocolate on top for an extra touch of sweetness. This variation adds a rich, creamy texture that pairs beautifully with the crunchy base.
Nutty Pistachio Cannoli Squares
Elevate the elegance of your dessert with nutty pistachio cannoli squares. Swapping out traditional flavors for crushed pistachios not only adds a gorgeous green hue but also a unique flavor profile. To achieve this, mix finely chopped pistachios into your ricotta filling, and sprinkle a few on top for garnish. Try pairing this version with a cup of herbal tea for a lovely afternoon treat. For more on the nutritional benefits of pistachios, check out the American Pistachio Growers.
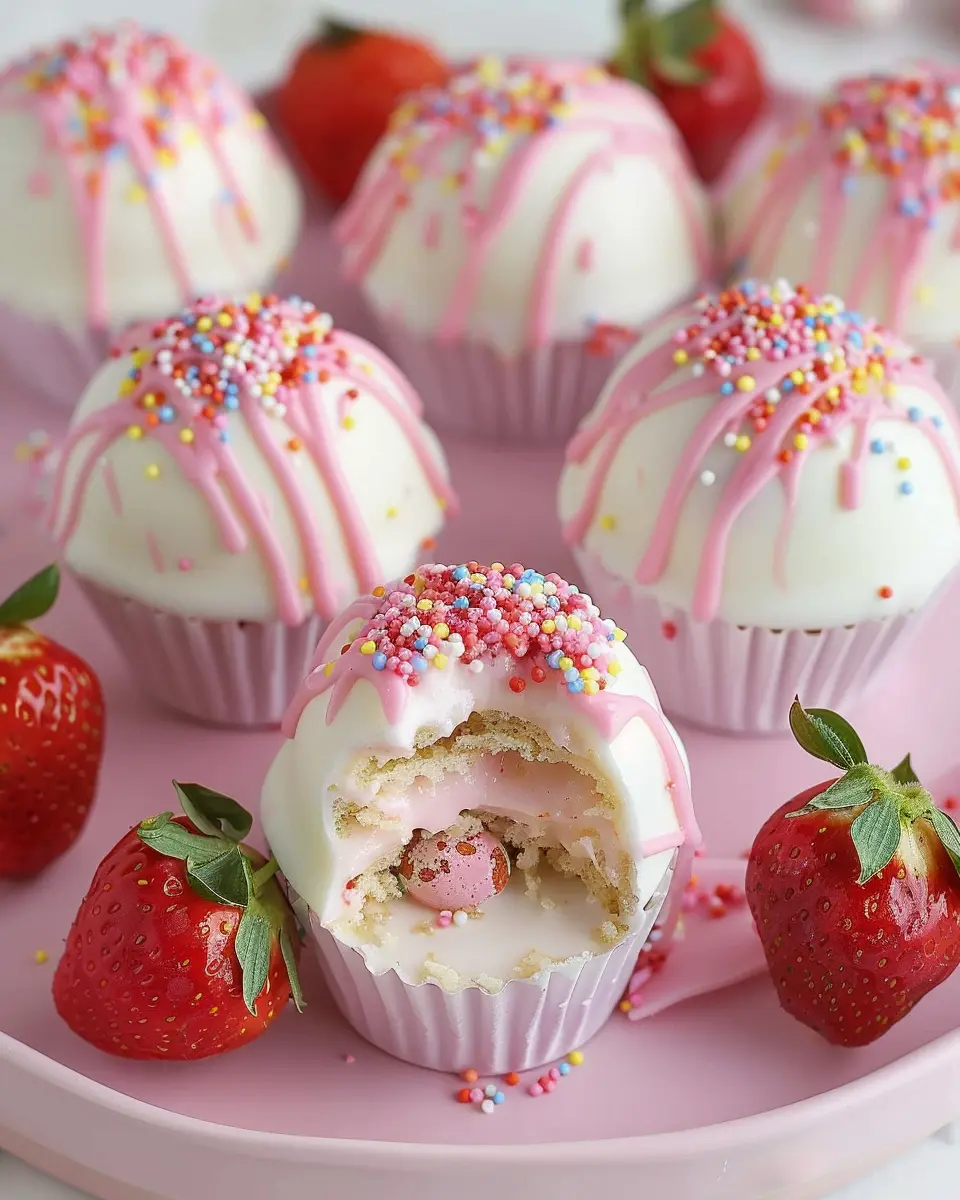
Seasonal Fruit-Infused Cannoli Squares
Why not take advantage of seasonal fruits? From strawberries in the summer to caramelized apples in the fall, incorporating fruit can brighten up your classic cannoli squares beautifully. Fold in pureed fruit or diced pieces into the filling, and add a touch of lemon zest for freshness. This makes it a versatile dessert choice—perfect for any occasion!
With these variations, your classic cannoli squares become a delightful canvas for your creativity. Which one will you try first?
Baking tips for Classic Cannoli Squares
How to achieve the perfect filling consistency
Getting the filling for your Classic Cannoli Squares just right is essential for that decadent, creamy texture. Start by using quality ricotta cheese; drain it well to remove excess moisture. For the best flavor, incorporate a mix of mascarpone and powdered sugar, whisking it until smooth. If you’re aiming for a touch of zing, consider adding a splash of vanilla extract or a hint of orange zest to elevate the filling!
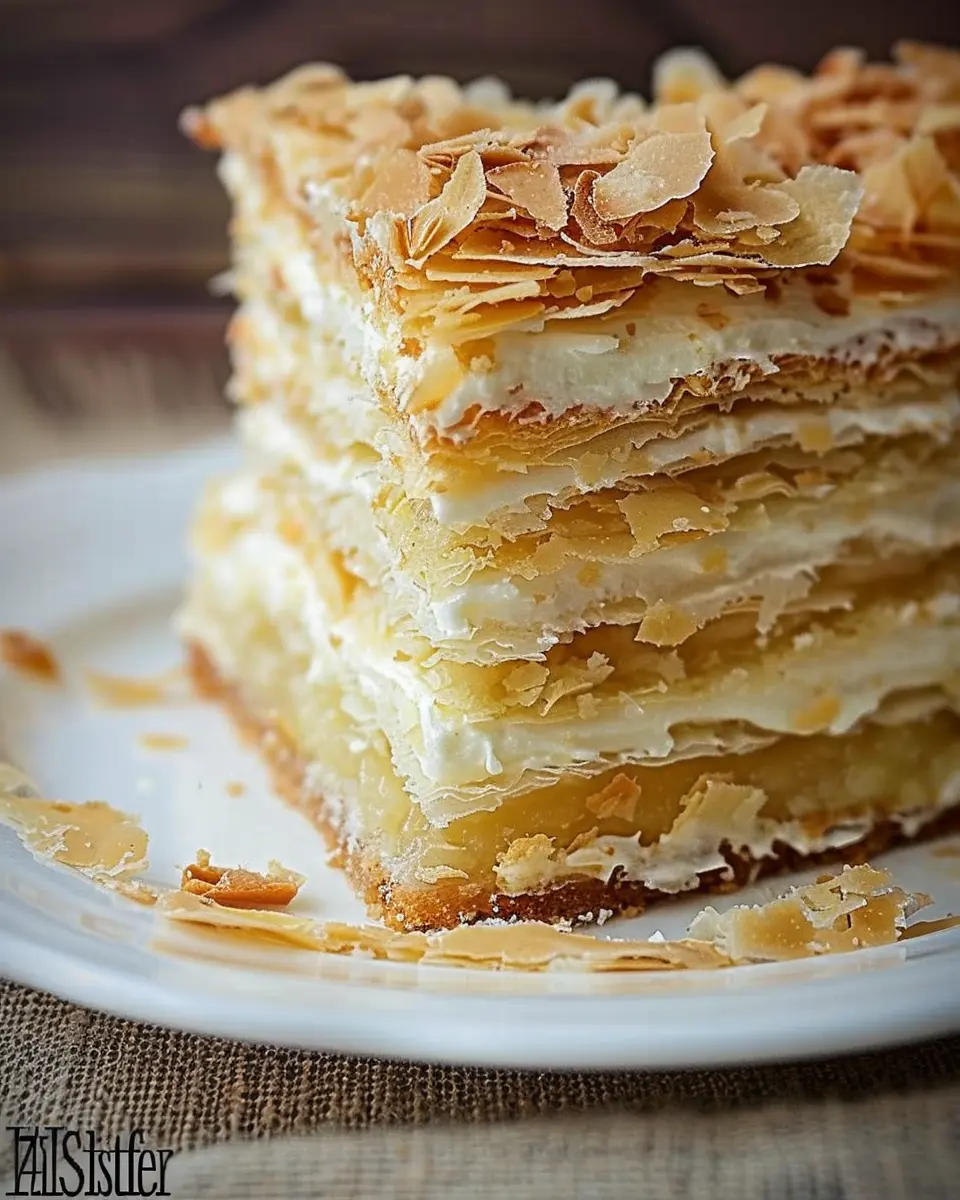
Ensuring a flaky and crispy crust
The crust is where magic happens! For a perfectly flaky and crispy texture, use cold butter and limit handling the dough. Remember to chill the dough before rolling it out; this helps keep those delicious layers. You might find this guide from King Arthur Baking helpful for mastering the crust techniques.
Monitor baking closely to prevent over-browning
Baking your Classic Cannoli Squares may sound simple, but it requires a watchful eye. Start with a preheated oven and place your squares on the middle rack for even cooking. Setting a timer is smart, but check on them a few minutes early; you want them golden, not dark brown. If you find they are browning too quickly, consider covering them with aluminum foil. After all, getting that perfect golden hue means less sogginess and better taste!
Enjoy baking these delightful treats, and don’t hesitate to share them with friends—they’re sure to impress!
Serving suggestions for Classic Cannoli Squares
Plating ideas for a show-stopping presentation
Elevate your Classic Cannoli Squares by paying attention to presentation. Try layering them on a rustic wooden platter or a sleek white cake stand for a contrast that catches the eye. Dust the top with powdered sugar and a sprinkle of mini chocolate chips or crushed pistachios for texture and color. Consider adding fresh berries or edible flowers around the squares to enhance the visual appeal. The vibrant colors will make your dessert look as good as it tastes!
Pairing with coffee or tea for a delightful experience
Nothing complements Classic Cannoli Squares quite like a beautifully brewed cup of coffee or a fragrant tea. A bold espresso brings out the rich flavors of the cannoli filling, while a chai latte adds a warm, spicy twist. If tea is more your style, go for an Earl Grey or a creamy matcha. Want to impress your guests? Create a thoughtful pairing card that highlights your chosen beverage along with the dessert for an engaging at-home experience.
For tips on the best coffee and tea pairings, check out CoffeeAffection.com and TeaReview.com for expert suggestions. Enjoy your culinary adventure!
Time breakdown for Classic Cannoli Squares
Preparation time
Getting started on your Classic Cannoli Squares is a breeze! You’ll need about 20-25 minutes to gather your ingredients, mix them together, and prep your baking dish. It’s that easy!
Baking time
Once you’ve got your mixture ready, pop it in the oven! These delightful squares will bake for approximately 30-35 minutes. You’ll want them to turn a lovely golden brown for that perfect texture.
Total time
In total, you’re looking at around an hour for the whole process—simple enough to fit into your busy day. So, what are you waiting for? Let’s make something delicious! Looking for more baking tips? Check out this article on The Science of Baking to enhance your skills.
Nutritional information for Classic Cannoli Squares
When you’re indulging in classic cannoli squares, knowing what’s in your treat can help you enjoy it even more. Here’s a quick breakdown:
Calories
A serving of these delicious squares contains approximately 260 calories. This makes them a delightful sweet without overwhelming your daily calorie intake.
Protein
You’ll find about 6 grams of protein in each serving. While not a primary protein source, paired with a balanced meal, they’re a tasty and satisfying addition.
Sodium
Each serving has around 100 mg of sodium. This is fairly moderate, allowing you to enjoy these classic cannoli squares without worrying too much about your sodium levels.
For more detailed nutritional breakdowns and tips on incorporating desserts into a balanced diet, consider checking out resources like the USDA Nutrition Database or MyFitnessPal. Enjoy your baking adventure!
FAQs about Classic Cannoli Squares
Can I make Classic Cannoli Squares ahead of time?
Absolutely! Classic Cannoli Squares are perfect for preparing in advance. You can assemble the crust and filling the day before serving. Just cover them tightly with plastic wrap and refrigerate. However, for the best texture, consider adding any toppings, like chocolate chips or chopped nuts, right before serving to keep them crunchy.
What if I can’t find ricotta cheese?
No ricotta? No problem! You might try using mascarpone or a blend of cream cheese with a bit of heavy cream as an alternative. These options can still give you that creamy texture and irresistible flavor that makes Classic Cannoli Squares shine. Don’t hesitate to get creative – for an even nuttier flavor, consider adding a splash of almond extract!
Are there gluten-free options for the crust?
Yes! You can easily create a gluten-free crust using almond flour or a gluten-free all-purpose flour blend. This way, your guests with dietary restrictions can also enjoy these delicious squares. You’ll want to make sure to add a bit of xanthan gum if your blend doesn’t include it, ensuring the crust holds together nicely.
How do I store leftovers?
If you’re lucky enough to have Classic Cannoli Squares leftover, store them in an airtight container in the refrigerator. They’re best enjoyed within three to four days. To maintain that delightful texture, consider keeping the filling and the crust separate until you’re ready to serve. For more tips on preserving your baked goods, check out the Baking Club for expert advice.
This way, whether you’re hosting a gathering or just indulging in a sweet treat, your Classic Cannoli Squares will always be a hit!
Conclusion on Classic Cannoli Squares
Making Classic Cannoli Squares is not just about baking; it’s a rewarding experience that brings joy to your kitchen and delight to your taste buds. As you layer and assemble these mouthwatering squares, you’re not just creating a dessert; you’re crafting a moment to share with friends or family. Each bite offers a symphony of textures and flavors, from the creamy filling to the crispy edges.
Moreover, experimenting with different fillings and toppings lets you personalize this dish, making it uniquely yours. So why wait? Dive into this delicious adventure today and discover how these Classic Cannoli Squares can elevate your next gathering into something truly special. Want more dessert ideas? Check out this collection of sweet treats.
PrintClassic Cannoli Squares: Indulgent Treat That Will Wow Your Taste Buds
A delightful dessert that combines the classic flavors of cannoli in a convenient square form.
- Prep Time: 30 minutes
- Total Time: 4 hours 30 minutes
- Yield: 12 squares 1x
- Category: Desserts
- Method: Chilling
- Cuisine: Italian
- Diet: Vegetarian
Ingredients
- 1 cup ricotta cheese
- 1 cup mascarpone cheese
- 2 cups powdered sugar
- 1 teaspoon vanilla extract
- 1/2 teaspoon cinnamon
- 1/2 cup mini chocolate chips
- 1 package graham crackers
- 1/2 cup heavy cream
Instructions
- In a mixing bowl, combine ricotta cheese, mascarpone cheese, powdered sugar, vanilla extract, and cinnamon until smooth.
- Fold in the mini chocolate chips.
- Layer the bottom of a baking dish with graham crackers.
- Spread half of the cheese mixture over the graham crackers.
- Add another layer of graham crackers and top with the remaining cheese mixture.
- Whip the heavy cream until stiff peaks form, then spread over the top.
- Chill in the refrigerator for at least 4 hours before serving.
Notes
- Allow the dessert to chill overnight for best flavor.
- Feel free to add additional toppings like crushed pistachios or cherries.
Nutrition
- Serving Size: 1 square
- Calories: 250
- Sugar: 20g
- Sodium: 50mg
- Fat: 15g
- Saturated Fat: 10g
- Unsaturated Fat: 5g
- Trans Fat: 0g
- Carbohydrates: 30g
- Fiber: 1g
- Protein: 4g
- Cholesterol: 30mg
Keywords: Classic Cannoli Squares, Cannoli Dessert, Italian Desserts