Introduction to Apple Crisp Recipe
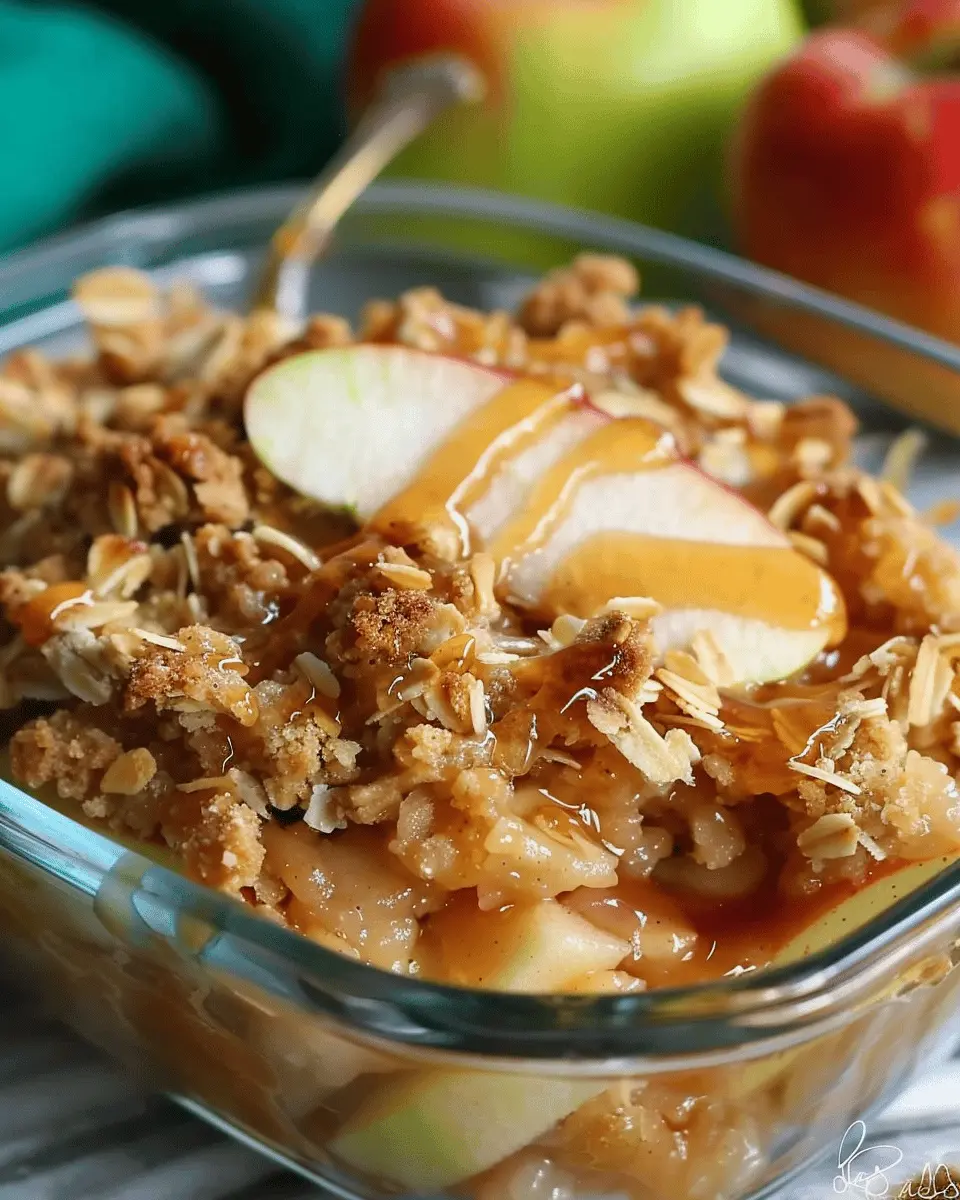
There’s something undeniably satisfying about a warm apple crisp. Maybe it’s the aroma of cinnamon and baked apples that brings back memories of family gatherings, or perhaps it’s the perfect contrast of the crunchy topping against the soft, buttery fruit. No wonder many consider apple crisp the ultimate comfort food!
Why Apple Crisp is the Ultimate Comfort Food
Imagine a chilly evening, maybe you’re winding down after a hectic day at work. What could be more inviting than a bowl of freshly baked apple crisp, topped with a scoop of vanilla ice cream? According to Food Network, apple desserts are among the most beloved in American homes, and for good reason. The simple combination of apples, sugar, spices, and a buttery oat topping makes this dish both delightful and easy to prepare.
As a young professional, convenience is key. You want a dessert that doesn’t consume hours of your time—apple crisp is a lifesaver. With just a few core ingredients like fresh apples, oats, and brown sugar, you can whip this up in no time. Plus, using ingredients you already have makes it budget-friendly. An added bonus? You can even involve a friend for a cozy cooking night!
When it comes to versatility, an apple crisp recipe can adapt to suit any taste. Want to mix in some berries for a flavor twist? Go ahead! Prefer adding nuts for extra crunch? Absolutely! The options are endless, and you’re free to experiment.
Beyond the dessert’s taste lies the psychological comfort it provides. A study published in the Journal of Happiness Studies highlights how food can be linked to memories and emotions, making dishes like apple crisp not just tasty but also nostalgic. So, whether you’re enjoying it solo after a long day or sharing it during a weekend gathering, this dessert is sure to elevate any moment.
Get ready to dive into this classic apple crisp recipe—your taste buds (and your friends) will thank you!
Ingredients for Apple Crisp
Necessary ingredients for a delicious apple crisp
To whip up a mouthwatering apple crisp, you’ll need a handful of simple yet essential ingredients. Here’s what to gather:
- Apples: About 6-8 medium-sized, preferably a mix of sweet and tart varieties like Granny Smith and Honeycrisp.
- Granulated sugar: Just a touch (½ cup) to enhance the apples’ natural sweetness.
- Brown sugar: Adds a lovely caramel flavor to the topping (¾ cup).
- Oats: Old-fashioned oats work best for a chewy texture (1 cup).
- Butter: Unsalted is ideal (½ cup), melted for the topping.
- All-purpose flour: Helps bind everything together (½ cup).
- Cinnamon and nutmeg: A pinch of these spices elevates the flavor profile immensely.
Tips for selecting the best apples
When it comes to choosing apples, freshness is key! Look for firm, unblemished apples that are bright in color. If you want to dive deeper into apple varieties, consider checking out resources like USDA’s varieties guide. Mixing tart and sweet apples not only balances the flavor but also gives your Apple Crisp Recipe a delightful complexity. Don’t hesitate to ask your local farmers’ market for recommendations—they’ll often have great insights!
Step-by-step Preparation of Apple Crisp
Creating an apple crisp is a delightful way to indulge in a classic dessert, especially during the fall season when apples are at their best. This apple crisp recipe is not just delicious but also easy to follow. Here’s a step-by-step guide to help you whip up this warm and comforting dish.
Preheat the oven and prepare your dishes
Before jumping into the cooking process, you’ll want to set the stage for your apple crisp. Preheat your oven to 350°F (175°C). This ensures that your dessert bakes evenly, giving it that golden, crispy top that everyone loves. While your oven is warming up, grab a baking dish—typically an 8-inch square or a similar-sized casserole dish works perfectly for this. Lightly grease it with butter or a non-stick spray, and you’re all set.
Mix the dry ingredients for the topping
Now it’s time to focus on the topping, which is one of the best parts of any apple crisp recipe. In a medium-sized mixing bowl, combine the following dry ingredients:
- 1 cup of old-fashioned oats
- 1/2 cup of all-purpose flour
- 1/2 cup of packed brown sugar
- 1/4 teaspoon of salt
- 1 teaspoon of cinnamon
Whisk these together until well mixed. Now, add in 1/2 cup of softened butter. Use a pastry cutter or your hands to incorporate the butter into the dry mixture until it resembles coarse crumbs. This is where the magic happens; the butter brings everything together and ensures that your topping crisps up nicely in the oven.
Prep the apples and combine with sugar mixture
For the star of our show—the apples—choose a mix of tart and sweet varieties for a balanced flavor, like Granny Smith and Honeycrisp. You’ll need about 6 medium apples, peeled, cored, and sliced thinly. In a large bowl, combine the apple slices with:
- 1/4 cup of granulated sugar
- 1 tablespoon of lemon juice (to enhance flavor and prevent browning)
- 1 teaspoon of cinnamon (because why not?)
Gently toss the apples until they’re evenly coated with the sugar mixture. Not only does this add sweetness, but the lemon juice helps bring out their natural juiciness.
Assembling the apple crisp
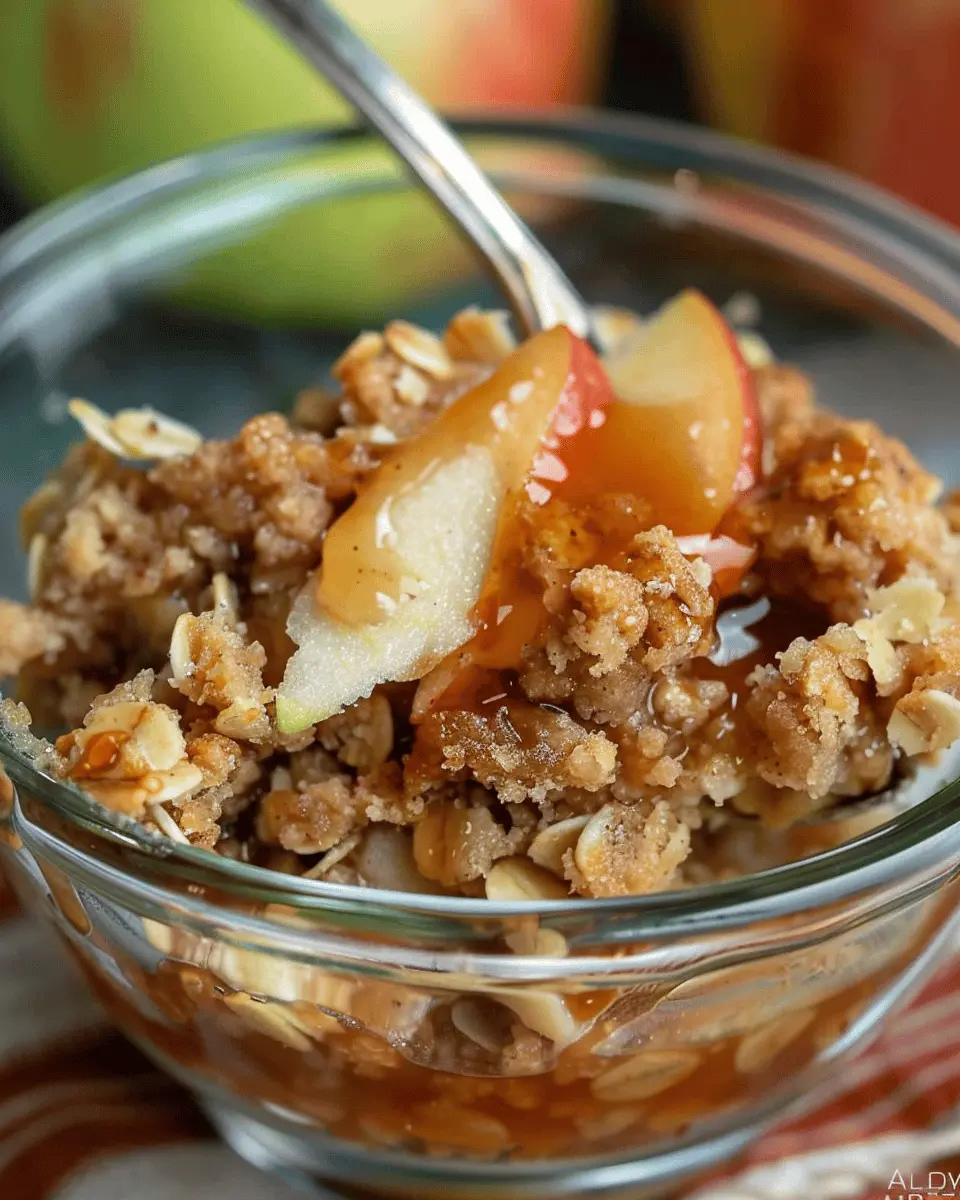
Now that you have your toppings and apple mixture ready, it’s time for assembly. Start by placing the apple mixture into the prepared baking dish, spreading it out evenly. Next, sprinkle the oat topping generously over the apples, ensuring every corner is covered. This layer will cook down beautifully, creating that wonderful contrast between the sweet, gooey apples and crunchy topping.
Baking and aroma anticipation
Finally, it’s time to pop your apple crisp into the oven! Bake for about 35–40 minutes, or until the topping is golden brown and the apples are bubbling. The aroma wafting through your kitchen during this time is truly an experience in itself. It’s that warm, inviting scent that makes you feel at home and ready to indulge.
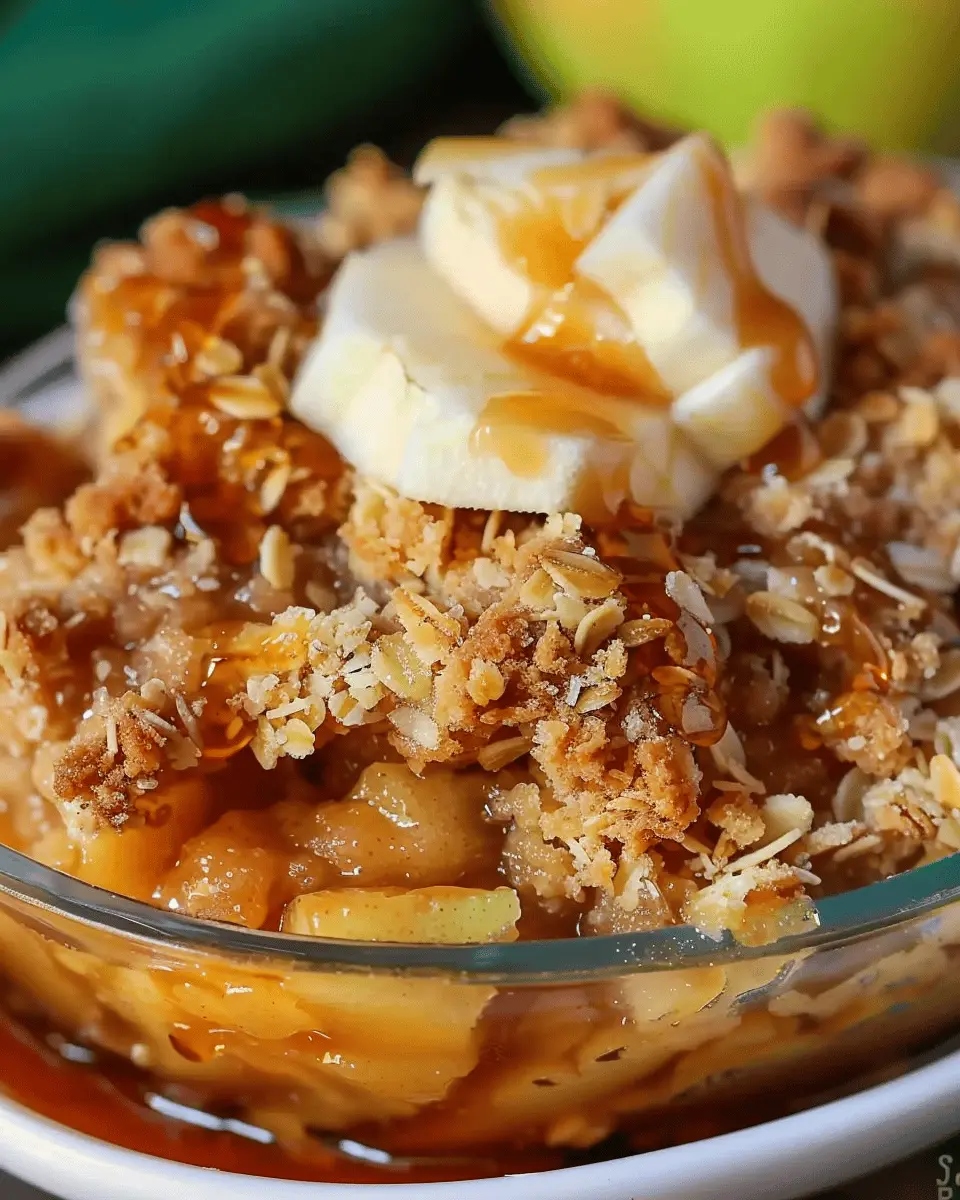
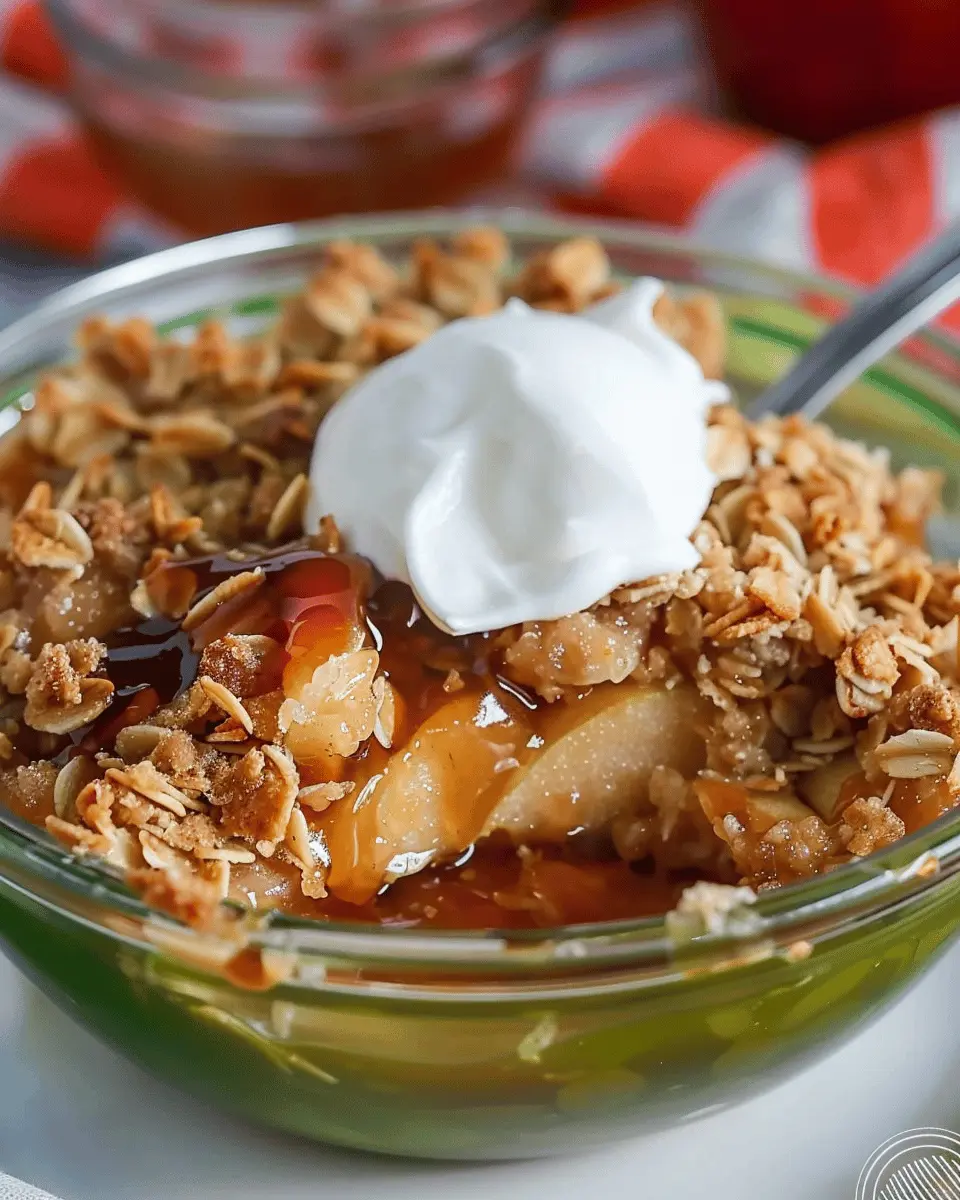
As your apple crisp cools slightly before serving, consider pairing it with a scoop of vanilla ice cream or a dollop of whipped cream for an extra indulgent treat. This simple yet satisfying dessert is sure to impress friends and family, making it the perfect ending to any meal.
Now that you’ve mastered this easy apple crisp recipe, why not explore more about the health benefits of apples on Healthline? Enjoy your baking adventure!
Variations on Apple Crisp
Gluten-free Apple Crisp Option
If you or your guests have gluten sensitivities, don’t worry! You can still enjoy a delicious apple crisp without the wheat. To create a gluten-free version of your Apple Crisp Recipe, simply substitute regular flour with alternatives like almond flour or certified gluten-free oats. The crunchiness you crave will still be there, and you won’t even notice a difference in flavor! If you’re interested in baking with alternative flours, check out King Arthur Baking for some great tips.
Adding Nuts for Extra Crunch
Looking to add a little something more to your apple crisp? Incorporating nuts not only enhances the texture but also boosts the flavor profile. Walnuts, pecans, or almonds make excellent choices. Chop them coarsely and mix them into your topping; you’ll be surprised how this little addition elevates your dessert. Plus, nuts are a wonderful source of protein and healthy fats, making your dessert a tad more nutritious.
You might be wondering, “Can I just sprinkle some nuts on top?” Absolutely! Just be cautious about the quantity if you’re aiming for a more balanced flavor. A handful folded into your topping mixture can make all the difference.
So next time you whip up your Apple Crisp Recipe, don’t hesitate to get creative. The variations are endless! Remember, cooking is all about experimentation, and the best part? You might just stumble upon your new favorite version.
Cooking Tips and Notes for Apple Crisp
Importance of Letting It Cool
Once your apple crisp comes out of the oven, resist the urge to dig in right away! Allow it to cool for about 20-30 minutes. This simple step lets the juices thicken slightly, making for a more enjoyable texture and preventing burns. Plus, the flavors will meld together beautifully. Who doesn’t like a little extra deliciousness?
Best Storage Practices for Leftovers
If you’re lucky enough to have leftovers (or made a double batch!), proper storage is key. Let the apple crisp cool fully before transferring it to an airtight container. Keep it in the refrigerator for up to five days, or freeze it for up to three months. When you’re ready to indulge again, simply reheat in the oven until warmed through. For a little extra flair, top it with a dollop of whipped cream or vanilla ice cream!
Want more tips? Check out these storage ideas, and keep that apple crisp fresh and tasty!
Serving Suggestions for Apple Crisp
Perfect Pairings: Ice Cream and Caramel Sauce
Nothing elevates a classic apple crisp quite like a scoop of creamy ice cream or a drizzle of rich caramel sauce. The warm, spiced apples complement the cold, velvety texture of ice cream remarkably well, creating a delightful contrast that’s hard to resist. You might even consider using a flavor like vanilla bean or cinnamon to enhance the apple flavor. A homemade caramel sauce, made simply with sugar, butter, and cream, can add a luxurious touch that brings your dessert to the next level. If you want to explore more options, check out Food Network’s guide to homemade caramel.
Creative Serving Ideas for Gatherings
When hosting friends, serving your apple crisp in individual ramekins can create an inviting presentation, perfect for gatherings. You can even toss in a few toasted nuts or whipped cream on top for extra flavor and texture. For a cozy, potluck-style dessert, consider layering the crisp in a clear dish to show off those beautiful apples and oats. This not only looks stunning but also makes serving easy. Plus, your guests can take home leftovers for a sweet treat later! What’s your favorite way to enjoy apple crisp?
Time Breakdown for Apple Crisp
When you’re ready to whip up a comforting Apple Crisp, knowing how to manage your time makes the process a breeze. Here’s a helpful breakdown that’ll guide you through!
Preparation time
The prep is straightforward and should take about 15–20 minutes. You’ll be peeling and slicing your apples and mixing that delightful crisp topping. Pro tip: choose a mix of sweet and tart apples for the best flavor; Granny Smith and Honeycrisp work wonders together!
Cooking time
Once you pop it in the oven, cooking takes around 30–35 minutes. You’ll want to keep an eye on it as it bakes, waiting for that golden-brown crispiness to develop.
Total time
In total, from start to finish, you’re looking at about 50–60 minutes to create this cozy dessert. Perfect to enjoy with friends or for a quiet evening treat.
Thinking of pairing this Apple Crisp Recipe with a scoop of vanilla ice cream? Yes, please! And if you’re really into baking, check out some great techniques on King Arthur Baking for more inspiration. Happy baking!
Nutritional Facts for Apple Crisp
When diving into this delightful Apple Crisp Recipe, it’s essential to understand its nutritional profile. A typical serving of apple crisp contains around 200-300 calories, depending on the ingredients used. Key ingredients like apples, oats, butter, and brown sugar contribute to its hearty flavor, but they also pack a caloric punch.
Break Down of Calories and Ingredients
- Apples: Naturally low in calories and high in fiber.
- Oats: Provide complex carbohydrates and help keep you feeling full.
- Butter: Adds richness but also increases fat content.
- Brown Sugar: While delicious, it can add empty calories.
While the standard version can tempt your taste buds, consider making a few swaps to enhance the health factor.
Healthier Ingredient Swaps
- Use Coconut Oil instead of butter for a dairy-free option.
- Swap out brown sugar for maple syrup for a refined sugar alternative.
- Add nuts or seeds for an extra crunch and added healthy fats.
These simple swaps allow you to enjoy your apple crisp while keeping your health in mind! For more tips on healthy ingredient swaps, check out this resource. Each bite can be satisfying without the guilt!
FAQs about Apple Crisp Recipe
When it comes to perfecting your Apple Crisp recipe, you might have a few questions. Let’s tackle some of the most common ones!
Can I use frozen apples for apple crisp?
Absolutely! Frozen apples can be a great time-saver. However, you’ll want to thaw them completely and drain any excess moisture before baking. This prevents your crisp from becoming too soggy. If you think ahead, you can even prepare a batch of crisp and freeze it for those last-minute dessert cravings. For additional tips on working with frozen fruits, you might find this resource quite handy.
How do I make my apple crisp extra crunchy?
The secret to a super crunchy apple crisp lies in the topping and baking technique. Here are some tips:
- Use a mix of oats and nuts: Combining rolled oats with chopped nuts like pecans or walnuts adds a delightful crunch.
- Don’t skimp on the butter: A generous amount of butter not only enhances flavor but also helps achieve a crispy top.
- Double bake: For an even crunchier experience, consider briefly toasting the topping before sprinkling it over the apples.
What are some good side dishes for apple crisp?
While apple crisp is fantastic on its own, serving it with a few complementary dishes can elevate your dessert experience. Here are some ideas:
- Vanilla ice cream: The classic pairing that balances the warm, spiced flavors.
- Whipped cream: A lighter, airy counterpart to the dense crisp.
- Caramel sauce: Drizzle it over the top for an extra touch of sweetness.
Whether you’re enjoying it solo or with friends, these additions will make your apple crisp even more unforgettable!
Conclusion on Apple Crisp Recipe
Recap of why making apple crisp is rewarding
Endless comfort lies within a warm bowl of homemade apple crisp. Not only does this Apple Crisp Recipe celebrate the enchanting flavors of fall, but it also lets you enjoy the delicious aroma that fills your kitchen as it bakes. The combination of tender apples, buttery oats, and a hint of cinnamon brings joy to your palate and warmth to your home.
Creating an apple crisp is a labor of love that yields a delightful dessert perfect for gatherings or cozy nights in. Plus, it’s an excellent way to engage with seasonal ingredients, supporting local orchards. Whether enjoyed solo or shared with friends, this dessert adds a sweet touch to any occasion. So why not get started? Bake your apple crisp today and relish in the sweet reward! For more inspiration, check out this guide on baking with seasonal fruits.
PrintApple Crisp Recipe: Easy and Delicious Family Dessert Idea

This apple crisp recipe is a family favorite, featuring tender apples topped with a crunchy oat topping. It’s a simple, delicious dessert that everyone will love!
- Prep Time: 15 minutes
- Cook Time: 35 minutes
- Total Time: 50 minutes
- Yield: 8 servings 1x
- Category: Dessert
- Method: Baking
- Cuisine: American
- Diet: Vegetarian
Ingredients
- 6 cups sliced apples
- 1 cup rolled oats
- 1 cup brown sugar
- 1/2 cup all-purpose flour
- 1 teaspoon cinnamon
- 1/2 cup butter, melted
Instructions
- Preheat the oven to 350°F (175°C).
- In a large bowl, combine apples, brown sugar, and cinnamon. Spread evenly in a greased baking dish.
- In another bowl, mix oats, flour, and melted butter until crumbly. Sprinkle over the apple mixture.
- Bake for 30-35 minutes or until the topping is golden brown and the apples are tender.
- Let it cool slightly before serving.
Notes
- Serve warm with vanilla ice cream for an extra treat!
- Feel free to mix in different spices like nutmeg or allspice.
Nutrition
- Serving Size: 1 serving
- Calories: 250
- Sugar: 20g
- Sodium: 150mg
- Fat: 12g
- Saturated Fat: 7g
- Unsaturated Fat: 3g
- Trans Fat: 0g
- Carbohydrates: 35g
- Fiber: 3g
- Protein: 3g
- Cholesterol: 30mg
Keywords: Apple Crisp Recipe, dessert, family, easy recipe