Introduction to Oreo Balls
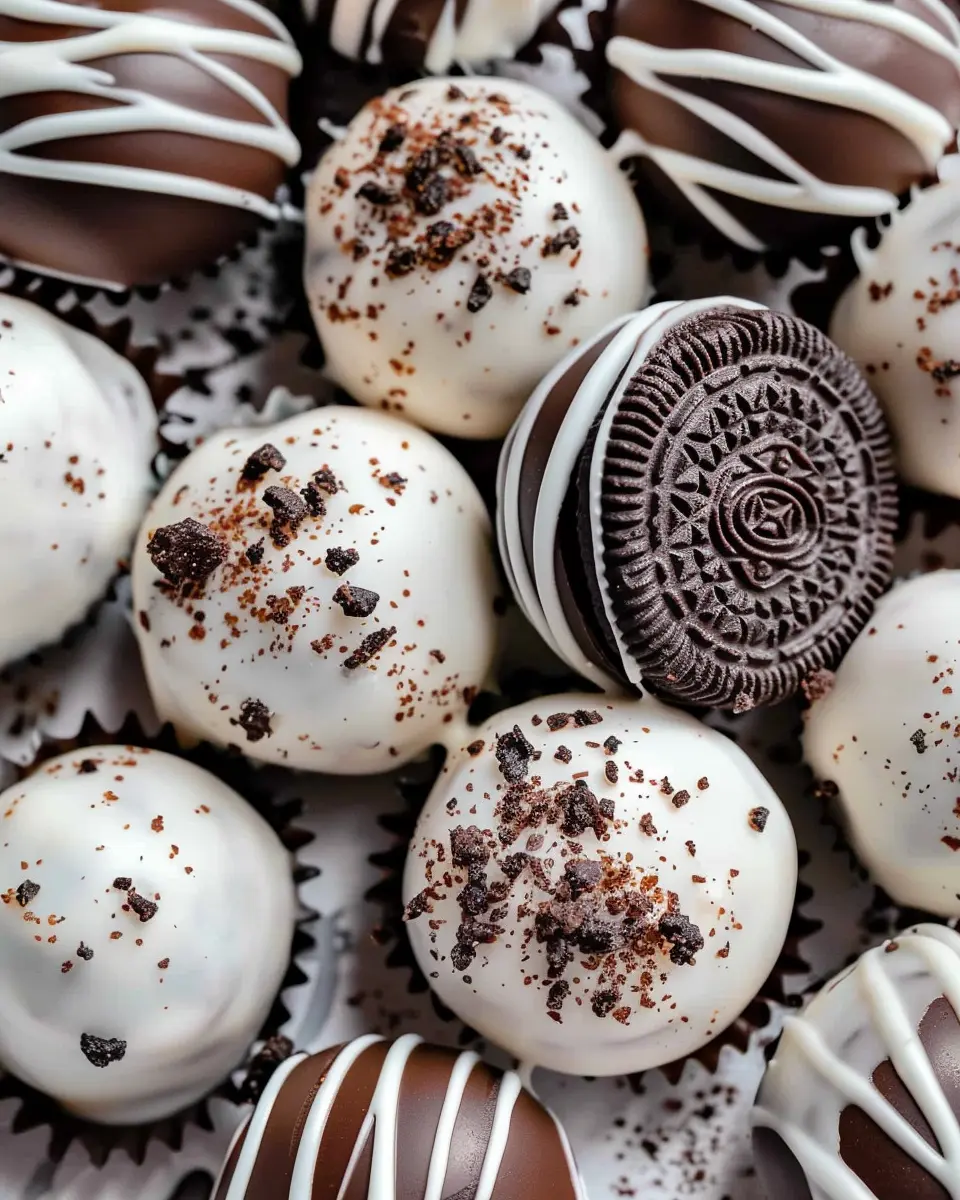
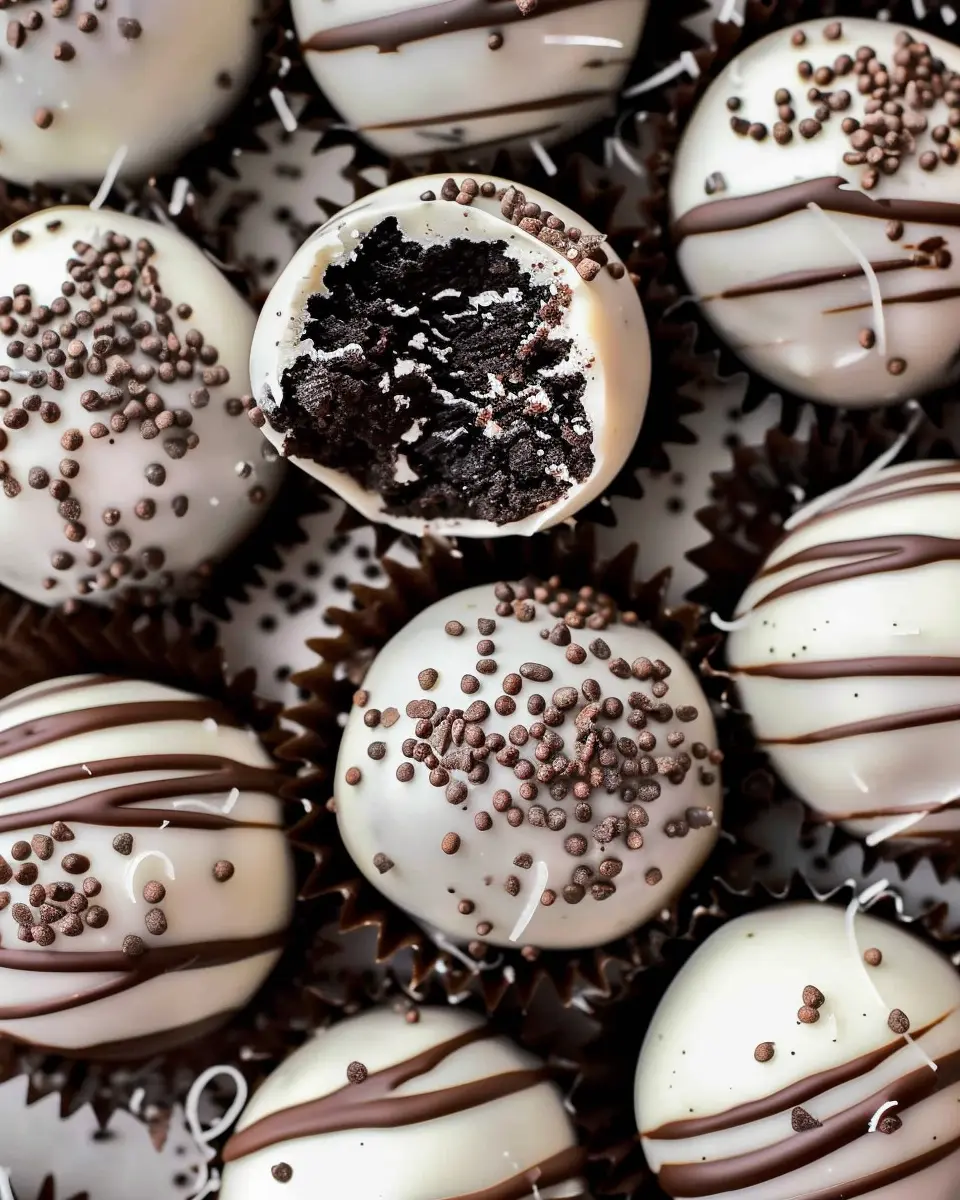
If you’re looking for a quick, delicious, and utterly delightful treat to impress friends or family, look no further than Oreo Balls. These little bites of heaven combine the rich, chocolatey flavor of Oreos with a smooth cream cheese filling, all while being surprisingly simple to make. Whether you’re celebrating a special occasion or simply indulging in a sweet craving, Oreo Balls are a go-to dessert that’s sure to please.
Why Oreo Balls Make the Perfect Homemade Treat
What makes these Oreo Balls so special? For starters, they’re incredibly versatile and easy to customize. You can dip them in milk chocolate, white chocolate, or even colorful candy melts to suit any occasion. Feeling adventurous? Add a sprinkle of sea salt or a drizzle of caramel for an extra twist!
One of the best things about these treats is how quick they are to prepare. With just three simple ingredients—Oreos, cream cheese, and chocolate—you can whip up a decadent dessert in less than 30 minutes (not including chilling time). In fact, did you know that homemade desserts like Oreo Balls can boost your mood? According to the National Institute of Health, baking can act as a therapeutic outlet, helping to reduce stress levels and increase feelings of happiness. So, why not get in the kitchen and unleash your inner pastry chef?
Another reason why Oreo Balls shine is their crowd-pleasing nature. Whether you’re throwing a party, attending a potluck, or simply treating yourself, these delightful bites are guaranteed to be a hit. They’re easy to transport, making them an ideal choice for sharing. Plus, everyone loves Oreos, making these treats a universal favorite.
If you’re interested in more creative takes on classic desserts, check out this article on baking made easy for inspiration and tips.
In the world of homemade treats, nothing quite compares to the joy of biting into an Oreo Ball. They’re simple yet sophisticated and perfect for satisfying those sweet cravings. So gather your ingredients, grab a mixing bowl, and let’s dive into this deliciously decadent recipe!
Ingredients for Oreo Balls
Essential ingredients for delightfully easy Oreo Balls
Making Oreo Balls is as simple as it gets, and you only need a few key ingredients. Here’s what you’ll need to whip up these delicious treats:
- Oreo cookies: The star of the show; opt for classic Oreo or try different flavors for a twist.
- Cream cheese: This creamy goodness binds the cookies together and adds richness.
- Chocolate coating: Use semi-sweet, dark, or white chocolate to cover your balls. Melted chocolate chips work great!
- Optional toppings: Consider festive sprinkles, crushed Oreos, or chopped nuts for added texture and flair.
These simple ingredients come together to create a delightful dessert that’s always a hit at parties or cozy gatherings.
Possible substitutions for dietary preferences
If you have dietary restrictions or preferences, don’t worry! There are plenty of substitutions you can try:
- Gluten-free: Use gluten-free Oreo cookies to ensure everyone can indulge.
- Vegan: Swap cream cheese for a dairy-free alternative and use dairy-free chocolate.
- Lower-calorie options: Reduced-fat cream cheese can help cut back on calories without sacrificing flavor.
By customizing your Oreo Balls, everyone can enjoy this delicious treat! Looking for creative variations? Check out this list of gluten-free snacks to inspire your next baking adventure.
Step-by-step Preparation of Oreo Balls
Making Oreo Balls is a delightful process that not only results in a delicious treat but also brings a touch of joy to your kitchen. This easy-to-follow recipe is perfect for parties, gifts, or simply as a sweet indulgence for yourself. Let’s dive into the step-by-step preparation to create these irresistible bites!
Gather and prepare your ingredients
Before you start, it’s essential to have all your ingredients at hand. For Oreo Balls, you’ll need:
- 1 package of Oreo cookies (standard size)
- 8 oz cream cheese (softened)
- 1 cup of chocolate chips (dark, milk, or white, based on your preference)
- Optional toppings: crushed Oreos, sprinkles, or melted chocolate for drizzling
Having everything ready simplifies the process and keeps you organized. It’s like setting the stage for a beautiful performance!
Process the Oreos to a fine crumb
Now, let’s get those Oreos ready. Place the whole package of Oreos into a food processor. Pulse until they reach a fine crumb consistency—think of sand or fine dirt. If you don’t have a food processor, a sturdy ziplock bag and a rolling pin work just as well. Just be careful; it can get a little crumbly! The goal is to make these cookies as fine as possible to ensure a smooth texture in your Oreo Balls.
Combine with melted butter and milk
Transfer the cookie crumbs to a mixing bowl and add in your softened cream cheese. This is where the magic happens! Mix until fully combined; your mixture should resemble cookie dough. If you want it to be extra tasty, melt a tablespoon of butter, add it in, and a splash of milk to give it a little moisture. This helps keep the Oreo Balls from being too dry.
Form the truffle balls
With your mixture ready, use a tablespoon or melon baller to scoop out portions. Roll them into balls, roughly one inch in diameter. This is where you can get creative! Don’t stress about making them perfect—each one will have its charm. Place the shaped balls onto a parchment-lined baking sheet, and keep rolling until all your mixture is used up.
Chill the balls before coating
Once your Oreo Balls are formed, it’s time to chill them in the refrigerator for at least 30 minutes. Chilling is crucial as it helps them firm up, making the coating process much easier. It’s also a great time to prepare your chocolate (more on that soon!).
Melt the chocolate carefully
While your Oreo Balls chill, you can get your chocolate ready. Use a double boiler or microwave in 30-second intervals to melt your chocolate chips. If you’re using a microwave, stir often to ensure it doesn’t burn. That glossy finish on your chocolate is key to that professional look!
Coat the Oreo balls in chocolate
Once the chocolate is melted and smooth, it’s time to coat. Using a fork, dip each chilled ball into the chocolate, letting the excess chocolate drip off. Place the coated Oreo Balls back onto your parchment paper. This step is where the Oreo Balls really transform—what’s better than chocolate-covered treats?
Set the chocolate and finish with toppings
Finally, once all the balls are coated, let them sit at room temperature or in the fridge for about 15 minutes until the chocolate hardens. If you’re feeling adventurous, now’s your chance to sprinkle some crushed Oreos or colorful sprinkles on top before the chocolate sets.
Voilà! Your homemade Oreo Balls are ready to be enjoyed. Whether for a party or just because you deserve a treat, these sweet bites are sure to impress. You can even consider wrapping them up as gifts—a little box of these beauties goes a long way!
For more fun twists on classic recipes, check out allrecipes.com or foodnetwork.com. Happy baking!
Variations on Oreo Balls
Classic Oreo Balls with Chocolate Coating
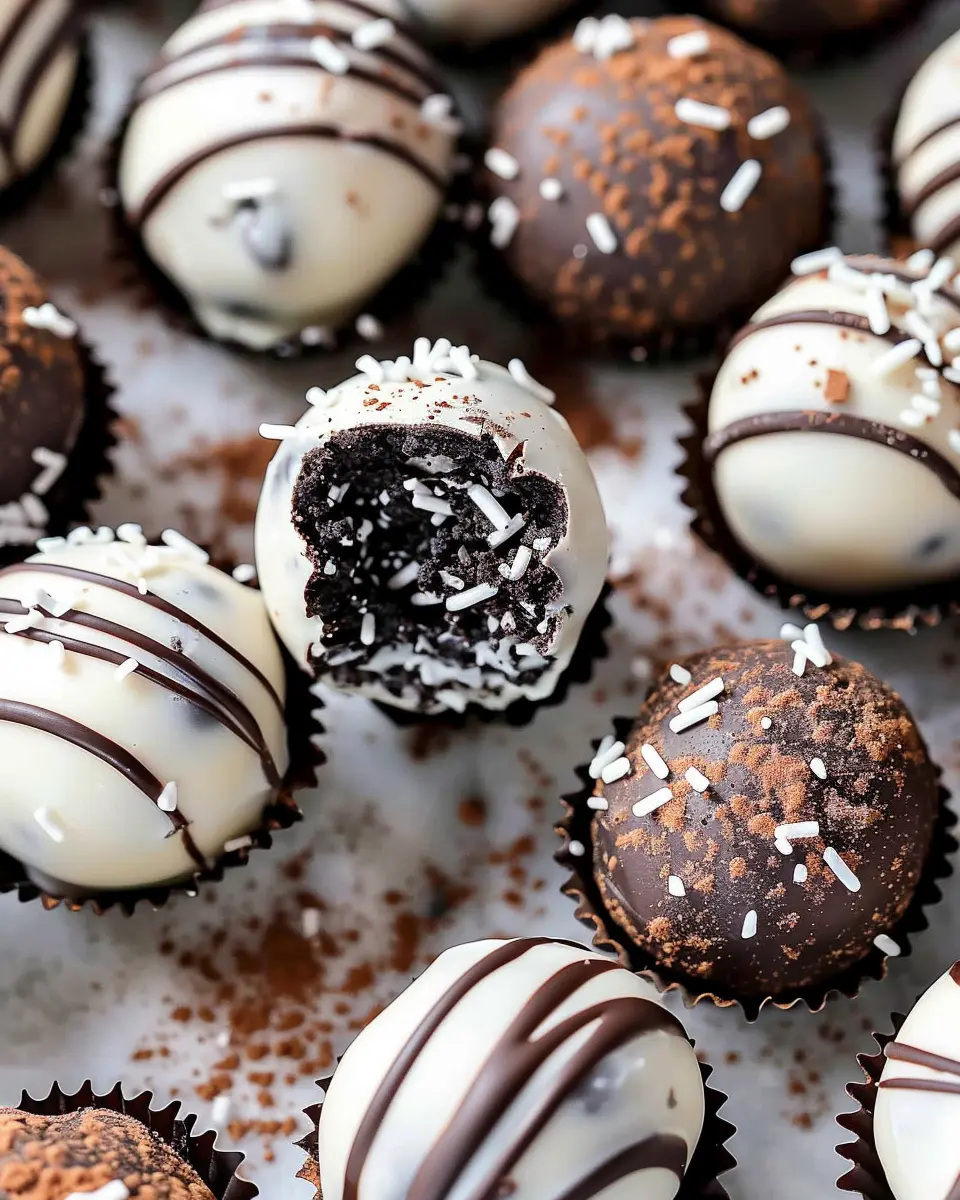
Let’s start with the timeless favorite: Classic Oreo Balls. These munchable delights are made by crushing regular Oreos and mixing them with cream cheese, then rolling them into bite-sized balls and coating them in melted chocolate. This classic combination creates a rich and creamy texture that never disappoints. For an extra pop, you might consider drizzling some white chocolate on top or even sprinkling crushed Oreo bits as a finishing touch. Want to make it even more festive? Use colored chocolate coatings for special occasions!
Fun Flavor Twists: Use Flavored Oreos
Why stop at the original when you can explore a whole new world of flavors? The beauty of Oreo Balls lies in their versatility. Consider swapping out classic Oreos for flavored varieties like Peanut Butter, Pumpkin Spice, or Mint. Each option adds a unique twist, making your dessert stand out. You can find an array of seasonal Oreos, which are perfect for holiday treats! Imagine the delight on your friends’ faces when they bite into a Pumpkin Spice Oreo Ball during autumn!
Healthier Options: Incorporate Nut Butter
If you’re looking to whip up a healthier version of Oreo Balls, consider incorporating nut butter. Instead of cream cheese, use almond or peanut butter for a protein-packed twist. This gives the balls a delicious nutty flavor and a creamy texture while keeping them indulgent yet nutritious. You can also use almond flour or crushed nuts, providing delightful crunchiness while reducing the number of added sugars.
With these variations, you’re sure to impress at your next gathering. Whether you stick to the classic or get adventurous with flavors, Oreo Balls offer endless possibilities for creativity and satisfaction in every bite!
Cooking Tips and Notes for Oreo Balls
Troubleshooting Common Issues During Preparation
Even the best chefs encounter hiccups! If your Oreo Balls aren’t holding their shape, consider adding a bit more cream cheese to the mixture. This extra moisture can help bind the cookies together effectively. If your chocolate coating is clumping, try heating it gently in a microwave or using a double boiler to achieve that perfect smooth consistency. And if your Oreo Balls aren’t sticking to the chocolate coating well, chill them for a while before dipping.
Best Practices for Melting Chocolate
Melting chocolate can be tricky, but with the right techniques, you can get a velvety coating for your Oreo Balls. Always use high-quality chocolate (like Ghirardelli or Callebaut) for the best flavor and texture.
- Microwave Method: Melt in 15- to 30-second intervals, stirring between each until smooth.
- Double Boiler Method: Simmer water in a pot and place a heat-safe bowl with chocolate on top, allowing it to melt gently.
Keep it at a low temperature to avoid seizing. Remember, patience is key!
For more tips on chocolate melting techniques, you can check out guides from Serious Eats. Happy cooking!

Serving Suggestions for Oreo Balls
How to Present Your Oreo Balls
When it comes to presenting your Oreo Balls, presentation is key! Arrange them on a decorative platter, perhaps with a sprinkle of crushed cookies or colorful sprinkles for that extra flair. Using cupcake liners can add a fun touch—choose colors that match your occasion. To take it a step further, consider drizzling some melted chocolate or white chocolate on top to make them look even more tempting. For an interactive experience, provide a few dips, like warm chocolate sauce or even cream cheese frosting, for guests to personalize their treats.
Perfect Occasions to Serve These Treats
Oreo Balls are incredibly versatile and perfect for various gatherings. Consider serving them at:
- Birthday parties: A hit among both kids and adults.
- Holiday celebrations: From Halloween to Christmas, customize your flavors and decorations.
- Potlucks: They’re easy to transport and always appreciated.
- Movie nights: Pair them with a cozy blanket and a great film.
No matter the event, these little delights are sure to impress! For more fun ideas on party treats, check out Taste of Home.
Time Breakdown for Oreo Balls
Preparation time
Making Oreo Balls is a breeze! You’ll need about 15 minutes to gather your ingredients and mix up that delicious filling. It’s a perfect opportunity to put on your favorite tunes and enjoy the process.
Chilling time
After shaping your Oreo Balls, they need some time in the fridge to set properly. Plan for about 30 minutes of chilling time. This is crucial for achieving the perfect bite-sized treat!
Total time
When you add everything up, the total time you’ll spend on these delightful Oreo Balls is around 45 minutes. That’s all it takes to create a game-changing dessert that everyone will love. So why not gather some friends or family, and turn this into a fun cooking session? For more tips on creative desserts, check out this site on sweet recipes.
Nutritional Facts for Oreo Balls
Key nutritional highlights
Oreo Balls are a delightful treat that packs a flavorful punch while being surprisingly straightforward to make. Each bite-sized ball offers a combination of rich chocolate and creamy cream cheese, with the added delight of crushed Oreos. These little indulgences contain:
- Protein: Thanks to the cream cheese, providing some sustenance.
- Sugar: A deliciously sweet treat, but moderation is key!
- Fats: Mostly from cream cheese and chocolate, giving that satisfying mouthfeel.
Want to know more? Check sources like Healthline for insights into dessert nutrition.
Caloric content and serving size
For those curious about calorie counts, one Oreo Ball typically contains around 70 calories, making them easy to enjoy without going overboard. A standard serving size might be around 3-4 balls, bringing the total to roughly 210-280 calories. It’s essential to savor each bite, allowing yourself to indulge without guilt!
Remember, Oreo Balls are perfect for special occasions but can also be a delightful weeknight treat when you need a pick-me-up. Enjoy responsibly!
FAQ about Oreo Balls
Can I freeze Oreo Balls for later?
Absolutely! Freezing Oreo Balls is a fantastic way to enjoy these delightful treats over time. Just make sure to place them in an airtight container or a resealable freezer bag to keep them fresh. They can last for up to three months in the freezer without sacrificing flavor or texture. When you’re ready to indulge, let them thaw in the fridge for a few hours before enjoying!
What are the best storage methods for Oreo Balls?
To keep your Oreo Balls fresh, the best method is to store them in an airtight container at room temperature, particularly if you plan to eat them within a week. If you’re keeping them longer, as mentioned, freezing is a great option. For short-term storage, you can also use the refrigerator. Just remember to layer parchment paper between them to prevent sticking.
Can I make these without a food processor?
Definitely! While a food processor makes the process speedy, you can still create Oreo Balls by placing the cookies in a large zip-top bag and crushing them with a rolling pin or heavy object. Just ensure they’re finely crushed for that creamy, indulgent texture. If you’re looking for a workout, this method can be quite satisfying!
These simple tips should boost your confidence in making perfect Oreo Balls! For other creative dessert ideas, check out sites like The Kitchn or Serious Eats for inspiration. Enjoy your delicious creations!
Conclusion on Oreo Balls
Recap of why homemade Oreo Balls are a must-try!
Homemade Oreo Balls are truly a delightful dessert that combines simplicity with scrumptiousness. Not only are they incredibly easy to whip up with just a few ingredients, but they also deliver a satisfying crunch paired with a smooth, creamy filling. Perfect for parties, holidays, or a cozy night in, these treats offer something for everyone.
Making them yourself means you can customize each batch—experimenting with various coatings or mix-ins. Plus, nothing beats the aroma of freshly made treats wafting through your kitchen! So why not gather a few friends and have a fun Oreo Ball-making session? Your tastebuds will thank you!
PrintOreo Balls: Indulgent Treats Everyone Will Love to Make

Oreo Balls are a delicious and simple treat that everyone can enjoy making. These no-bake treats are perfect for any occasion!
- Prep Time: 15 minutes
- Cook Time: 0 minutes
- Total Time: 45 minutes
- Yield: 24 balls 1x
- Category: Dessert
- Method: No-bake
- Cuisine: American
- Diet: Vegetarian
Ingredients
- 1 package Oreo cookies
- 8 ounces cream cheese, softened
- 2 cups chocolate chips
Instructions
- Crush the Oreo cookies in a food processor until fine crumbs form.
- Mix the crushed Oreos with the softened cream cheese until well combined.
- Form the mixture into small balls and place them on a baking sheet.
- Freeze for about 30 minutes until firm.
- Melt the chocolate chips in a microwave or double boiler.
- Dip each ball into the melted chocolate, making sure they are fully coated.
- Return the chocolate-coated balls to the baking sheet and let them set.
Notes
- Optional: sprinkle crushed Oreos on top before chocolate sets for added texture.
Nutrition
- Serving Size: 1 ball
- Calories: 150
- Sugar: 12g
- Sodium: 50mg
- Fat: 9g
- Saturated Fat: 5g
- Unsaturated Fat: 3g
- Trans Fat: 0g
- Carbohydrates: 18g
- Fiber: 1g
- Protein: 2g
- Cholesterol: 15mg
Keywords: Oreo Balls, no-bake dessert, easy treats